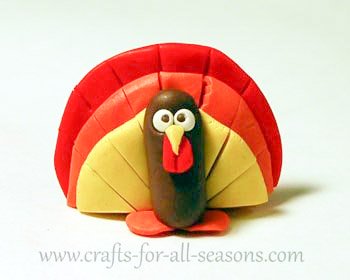
Polymer Clay Turkey
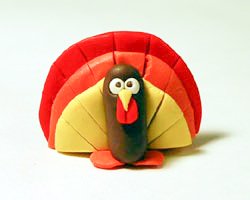
This polymer clay turkey can be turned into a Thanksgiving day pin, earrings, a magnet, place card holder, napkin rings... just use your imagination!
To make earrings, just scale down the turkey to a smaller size.
This cute turkey craft is made using polymer clay. Polymer clay is very easy to use, and it bakes hard in the oven. If you have never used polymer clay before, be sure to read my polymer clay article first to get some helpful hints and pointers.
Materials Needed to Make Polymer Clay Turkey:
- ½ inch ball of red polymer clay
- ½ inch ball of orange polymer clay
- ½ inch ball of yellow polymer clay
- 1/4 ball of brown polymer clay
- Tiny amount of white polymer clay
- Tiny amount of black polymer clay (optional) or a black marker
- Polymer clay shaping tool for cutting and making holes (or use a sharp edge and a pencil for forming hole)
Instructions for Polymer Clay Turkey:
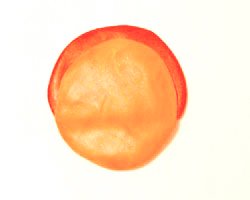
1. Begin the polymer
clay turkey by pressing the ball of red clay flat
to form a circle. Make the size of the circle the size you want the
turkey to be.
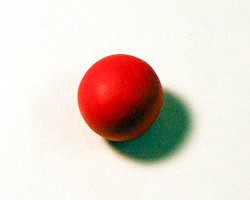
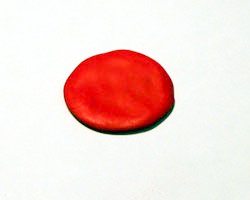
2. Using a blade or cutting tool, but the bottom 1/3 of the circle away.
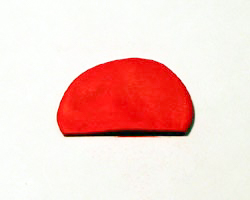
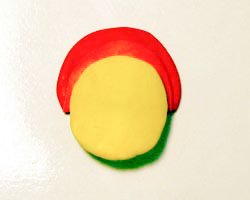
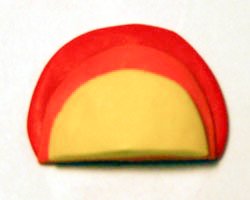
3. Next, flatten the orange ball of clay into a circle. Make the circle slightly smaller than the red circle, and place it over the red circle slightly under the red edge, as shown. Cut away the bottom of the orange clay to be flush with the red edge.
4. Do the same thing with the yellow ball of clay. This the tail feathers of the turkey.
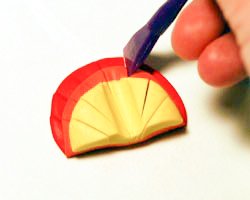
5. Make
cuts in the tail with a blade or cutting tool, for more detail
and definition.
6. Create a
depression in the tail for the turkey body. I did this by
pressing by polymer clay tool into the clay (you can use a pencil to do
this as well).
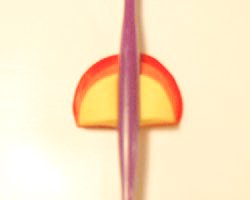
7. Create the turkey body out of the brown clay. Roll it into a rounded off cylinder, and push it into the depression.
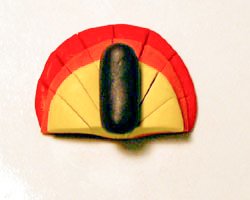
8. Create two
large holes for the eyes, using the tip of a pencil or a
polymer clay piercing tool.
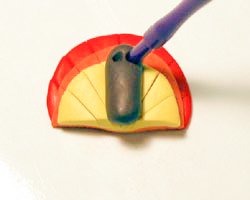
9. Make two small balls out of white clay, and then push them in the
eye holes.
10. You can then make two additional holes
in the white eyes for the black pupils, or you can draw a black dot on
them with a marker after the clay has baked and cools. If you make them
out of clay, just roll two teeny tiny balls of black clay and place
them into the tiny holes you made in the white eyes.
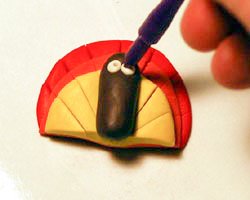
11. Make a little gizzard out of a bit of red clay, and place them below the eyes. Then make a little yellow beak like a triangle and place it under the eyes but over the gizzard.
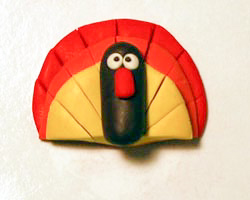
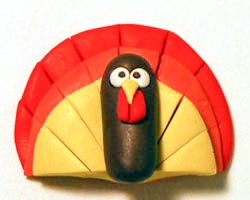
12. For the feet, you can make two flat circles out of orange clay and push them on the bottom.
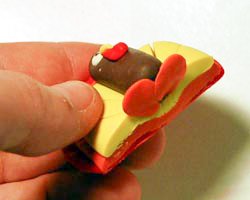
13. Bake the clay piece in the oven according to the manufacturer’s instructions.
14. Apply a polymer clay sealing coat if desired, after the piece has cooled.
Would you consider a small donation?
You will receive my craft ebook as a thank you!
Every little bit helps! If you are enjoying this site, would you consider making a small donation? I use the extra money to help with the cost of craft supplies! With any $5.00 donation or more, you will receive my 650 page ebook full of 178 craft tutorials from this site. Thank you for your consideration!
Click here to learn more about the book, and to make a donation.
Home › Thanksgiving Crafts › Polymer Clay Turkey
Home › Polymer Clay Crafts › Polymer Clay Turkey
