Thankful Turkey Craft
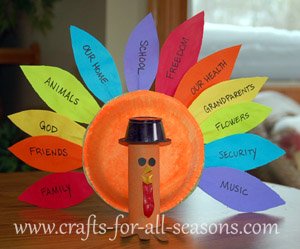
This thankful turkey craft would make a beautiful centerpiece for the Thanksgiving table. Not only is it fun for the children to make, but it gets them thinking about things they are thankful for.
Each feather can be written with a word or phrase. Another nice tradition is to have a feather at each person's place setting, and then each person can write what they are thankful for, and the feathers can then be added the turkey.
Most of the supplies needed for this turkey can be found around the house. The turkey's body is made from an empty toilet paper tube, and the base of hit tail is made out of two paper bowls.
Materials Needed:
- Two paper bowls
- One toilet paper tube
- Card stock in various colors
- Small red balloon
- Orange poster paint, and paintbrush
- Small plastic condiment cup
- Toothpicks
- Scissors
- Glue
Instructions for the Thankful Turkey Craft
1. Begin this thankful turkey craft by painting two bowls and the toilet paper roll the color you want your turkey to be.
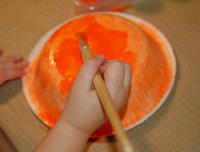
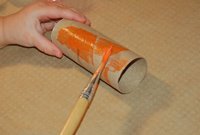
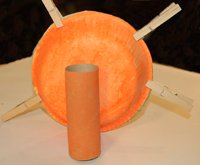
2. When they are dry, glue the rims of the two bowls together. You can use clothespins or paper clips to keep them together if needed.
3. Next, glue the toilet paper roll to the bowl. This will be the turkey's head and neck. Glue it so that the bowl will stand up when the toilet paper roll is attached. Since some brands of paper bowls may weigh differently, so be sure to test this out to be sure the turkey will stand stable and will not tip over. Allow to dry.
4. To make the turkey's face, you can cut black dots from construction paper or glue on googly eyes.
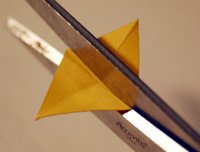
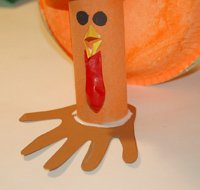
5. To make the beak, take a small square of yellow or orange card stock and fold it into quarters. Then, cut off a triangle, with one edge along the fold (see photos). Open up the card stock, and then cut the resulting diamond in half. This becomes the beak, and it can be glued on as shown.
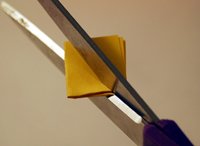

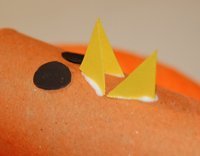
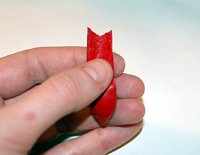
6. Take the red balloon and cut off the stem of it, where you would normally blow, into a "V" shape. Glue on the red balloon below the beak to become the wattle.
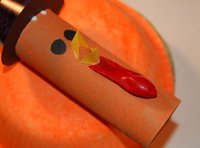
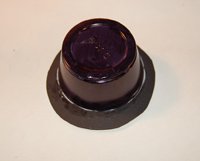
7. For the hat, use a small plastic condiment cup (I used a small solo cup). Paint it black. For the brim, draw a circle on black card stock, which is a little larger than the hat. Cut out the circle and glue it carefully to the hat. Then, glue the hat to the turkey.
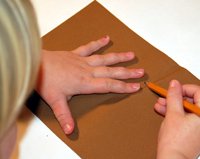
8. For the feet, have your child trace her hand on brown card stock and cut it out. Then glue the hand to the bottom of the turkey. The fingers are the turkey's toes!
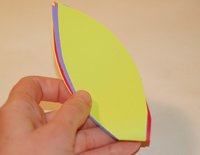
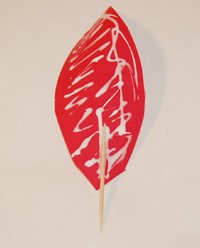
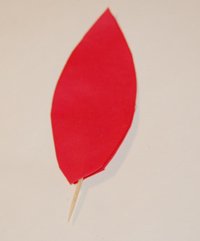
9. To make the feathers, stack a few sheet of colored card stock on top of one another, then fold them in half. Cut out a feather shape. You will end up with duplicate feather shapes for each color. Apply glue to one whole side of the feather, then add a toothpick near the bottom, with half of it hanging out. Then apply the other side of the feather, so the toothpick is “sandwiched in”. Allow to dry.
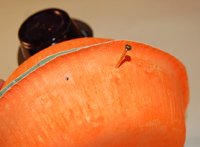
10. Poke holes in the back paper bowl, near the rim, with a nail or thick pin. Make the holes about 1.5 inches apart. This is where the feathers can be poked through the turkey.
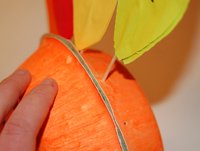
11. This thankful turkey craft is complete! He will look great as a centerpiece this Thanksgiving, and is something your child will be proud of!
Would you consider a small donation?
You will receive my craft ebook as a thank you!
Every little bit helps! If you are enjoying this site, would you consider making a small donation? I use the extra money to help with the cost of craft supplies! With any $5.00 donation or more, you will receive my 650 page ebook full of 178 craft tutorials from this site. Thank you for your consideration!
Click here to learn more about the book, and to make a donation.
Home › Thanksgiving Crafts › Thankful Turkey Craft
Home › Crafts for School Age Kids › Thankful Turkey Craft


