Halloween Art Project - A Spooky Painting!
This Halloween art project is great for school kids or adults! The background resembles a sunset and it is very easily created.
Making the sunset gives you a chance to practice blending colors of paint. Then, using black paint, a scary scene is painted on the sunset. This is where students can really use their imagination. It gives them practice drawing the outlines of shapes and choosing what elements to add to the scene.
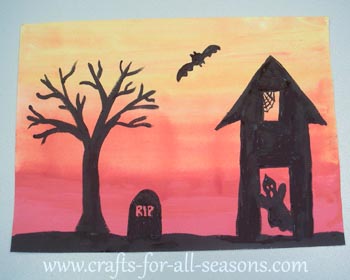
Here I show how to make a tree, haunted house, and a tombstone.
Try making bats, witches, cemeteries, fences, jack-o-lanterns, etc. to make your own spooky scene!
Materials Needed:
- Large piece of painting paper
- Large and small paintbrush (large is for the sunset, the small one is for making the scene)
- Red paint (acrylic, tempera, or watercolors all work well)
- Orange paint (acrylic, tempera, or watercolors all work well)
- Yellow paint (acrylic, tempera, or watercolors all work well)
- Black paint (acrylic or tempera recommended)
- Water
Instructions for this Halloween Art Project
1. Making the
sunset background is actually very easy. My
four year old is shown here and she did quite well with a little help.
Begin with a nice large paintbrush,
like the type you would use to paint trim in your house. Load it up well with red paint, and
then paint a wide strip along the top of the paper as shown.
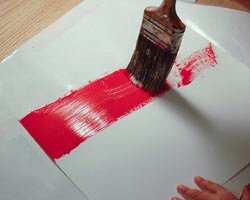
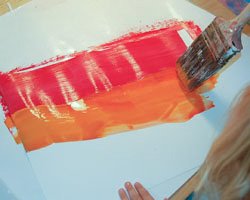
2. Right below the
red strip, paint a wide orange strip. You can slightly overlap the
colors.
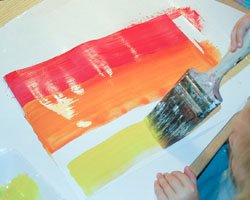
3. Last, paint a wide yellow strip at the bottom. The paper should now all be covered.
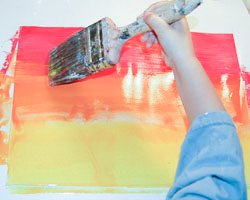
4. Clean off the brush well with water, and leave the brush a little wet. Go back over and swipe the brush across where the two colors meet, to help them blend.
5. Allow this paper
to dry very well, preferably overnight.
6. Now it is time to use your imagination. Turn the paper upside down
so the red area is at the bottom. Paint a black wavy line about one
inch thick along edge of the paper, in the red section. This is the
ground of the Halloween scene.
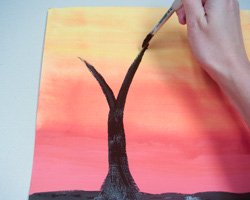
8. Continue to add branches to the two shown by branching smaller ones out from it, and then smaller ones from those. Use the photos as guides.
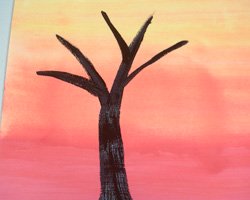
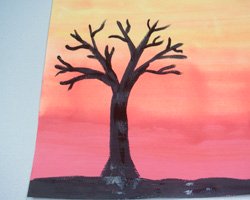
Need more ideas? Try making a bunch of jack-o-lanterns piled up, a black cat on a fence, a spooky cemetery scene, or a witch on a broom with bats flying around her. Have fun and use your imagination!
Would you consider a small donation?
You will receive my craft ebook as a thank you!
Every little bit helps! If you are enjoying this site, would you consider making a small donation? I use the extra money to help with the cost of craft supplies! With any $5.00 donation or more, you will receive my 650 page ebook full of 178 craft tutorials from this site. Thank you for your consideration!
Click here to learn more about the book, and to make a donation.
Home › Halloween Crafts › Halloween Art Project
Home › Crafts for School Age Kids › Halloween Art Project


