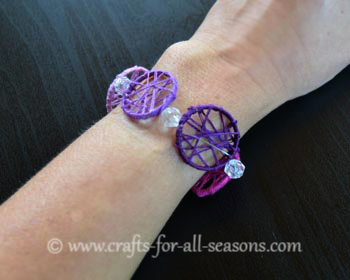
Bohemian Bracelet
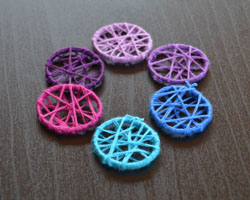
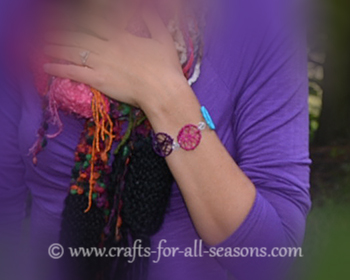
This bohemian bracelet looks like mini dream catchers all laced together with pretty beads. The dream catchers are made using the plastic rings that lies under the caps of water bottles. They are wrapped with a vibrant colors of embroidery floss - the colors you choose are up to you! Using elastic cording to hold the elements together creates a simple to wear stretchy bracelet that any creative bohemian would love!
Things Needed:
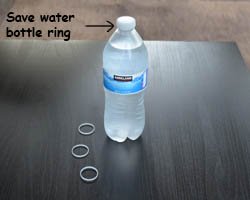
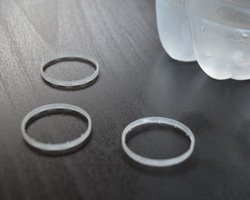
- Four to six plastic water bottle rings, which lie right below the cap (see photo in the step by step directions)
- Embroidery floss in your choice of colors
- Clear stretchy elastic for making bracelets
- Beads for between the dream catchers - I chose a clear plastic bead.
- Scissors
- Superglue
Bohemian Bracelet Instructions
1. Begin by gathering your water bottle plastic rings. Each time someone is done with a bottle of water, grab it. Gently remove the plastic ring that lies below the cap and save up four to six of these per bracelet. I have found that four rings work great for a child's bracelet, five rings are good for an adult wrist (size small), and six rings are good for a large wrist.
Then, select which colors of embroidery floss you would like to use and gather them all up.
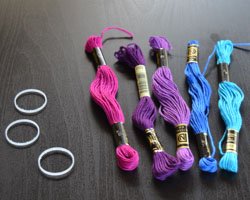
2. Start with one ring and one color of floss. Remove approximately 2.5 feet of floss from the skein and cut it off. This is your working floss. To begin, tie it around the ring and secure it with a square knot.
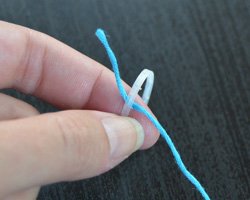
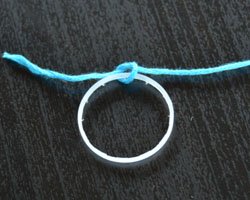
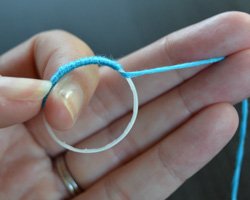
3. Begin wrapping the floss around and around the ring, to cover the entire ring. You can wrap it over the tail that is left from the square knot to further secure everything and keep things tidy.
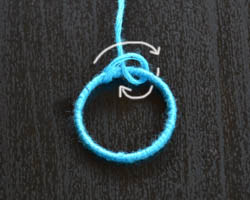
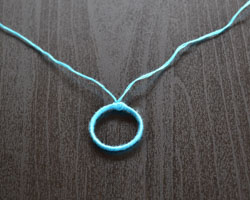
4. When the entire ring is covered, secure the thread by wrapping it around the ring and through the loop, as shown in the photo below.
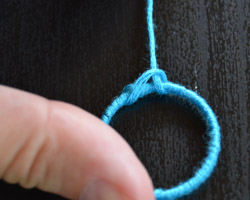
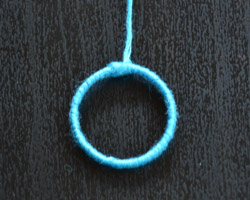
5. Take the remaining floss strand and divide the floss strands in two parts. My floss consisted of six strands so I divided three strands in each half. Hold the two sections of floss up and pull the apart to divide the entire length down to the ring.
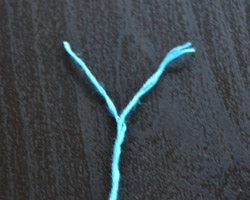
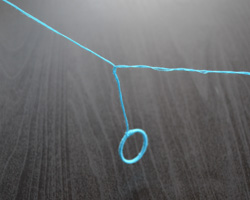
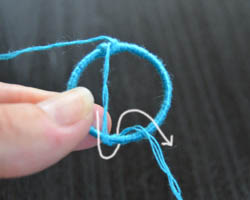
6. Working with one of the strands, stretch the floss to the other side of the ring. Each time you do this, you will need to secure the floss to the ring in the following way - wrap the floss around the ring twice. See the photos for clarification. Continue pulling the floss in different directions to form an intricate dream catcher, securing it each time to the outside ring. You can alternate between using the two strands.
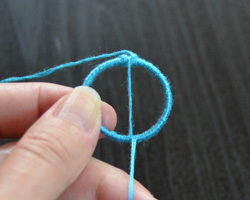
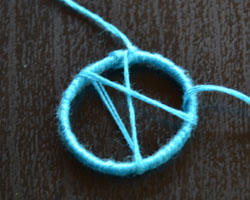
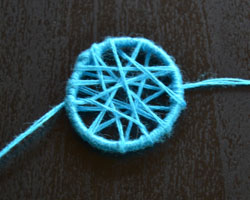
7. When you feel your dream catcher is detailed enough, do one last wrap to get both working strands near each other. Using both strands, secure them using a square knot. Cut off the excess floss and secure the knot with a small drop of super glue.
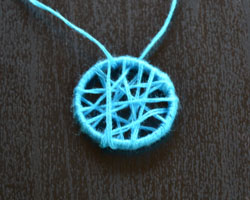
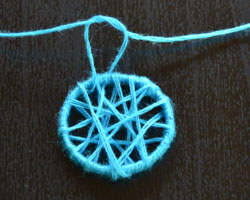
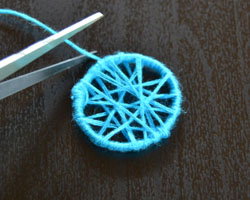
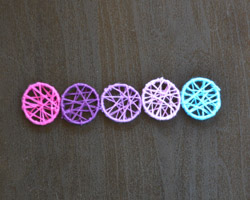
8. Continue making dream catchers in the colors of your choice, then decide what color order you would like them on your bracelet. Pick out a nice bead to go in between each dream catcher. I chose a translucent clear plastic bead since I had many different colors, but you can really get creative here.
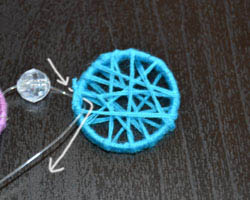
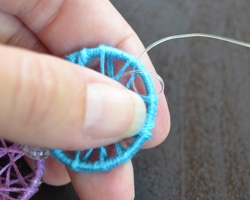
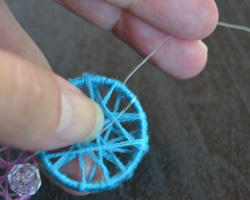
9. Using stretchy elastic cording, thread it through one of the connector beads, then through the dream catcher. To secure it through each dream catcher, I wrapped it around the ring twice, just as before. Then I stretched it across the dream catcher to the other side of the ring and wrapped it around twice.
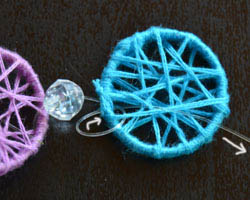
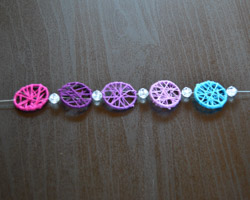
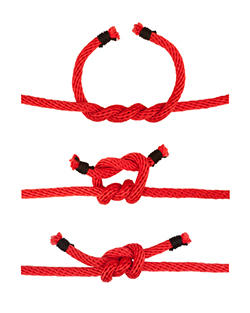
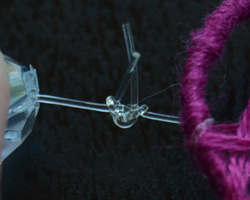
10. Continue threading the cord through all the dream catchers and beads, then secure the elastic cording to itself to close the bracelet with a surgeon's knot. This is a very strong knot and I show how it is done in the middle photo below. Secure this knot with a drop of super glue.
11. You are ready to wear your bohemian bracelet, enjoy!
Would you consider a small donation?
You will receive my craft ebook as a thank you!
Every little bit helps! If you are enjoying this site, would you consider making a small donation? I use the extra money to help with the cost of craft supplies! With any $5.00 donation or more, you will receive my 650 page ebook full of 178 craft tutorials from this site. Thank you for your consideration!
Click here to learn more about the book, and to make a donation.
Home › Crafts for Teens › Bohemian Bracelet
Home › Crafts for Adults › Bohemian Bracelet
Home › Recycled Crafts › Bohemian Bracelet
