Bottle Cap Necklaces
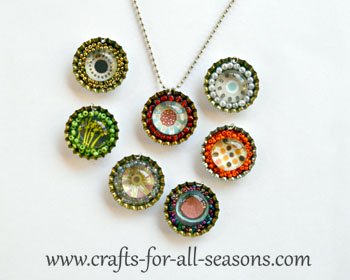
The bottle cap necklaces are made from a
scrapbook paper and a flat
glass stone marble. The marbles I used were those
flat bottomed clear ones that you buy in a package to go in
floral vases, or on decorative plates around your
candles.
Many tutorials use diamond glaze to make
bottle cap necklaces, and the results are beautiful. However,
diamond glaze can be messy to work with and it takes forever to
dry. You can get a similar look using flat glass stone
marbles, and it is a bit easier (especially for kids and
teens) and less expensive.
Because everything for this project can
be bought in bulk, each necklace costs only pennies. This
makes it a really nice item to sell at craft fairs, or for teenagers to
make at camp. Since each necklace has its own look, kids will
love personalizing them. The designs I used for
these were cut from patterned scrapbook paper I had on hand.
However, don’t let this limit your imagination. You
can use a photo or design from a magazine, print out words or your name
in a fancy font on your computer, or use a real photograph.
These make perfect gifts
too.
For instance, if you have a friend that loves owls, find a
graphic of a cute owl and you have a very personalized
gift.
Materials Needed:
- Bottle caps (either save them from your favorite beverages or buy them from craft stores)
- Patterned scrapbook paper (see the notes above for other ideas too. You can use a photograph or your own printed design)
- Clear, flat bottomed marbles (the kind you see in the floral section to fill vases)
- Strong glue that dries clear (I used E6000 Multi-Purpose Adhesive)
- Drill and a small drill bit
- Jump ring ( large enough to go through the hole and fit the cord you are using)
- Jewelry pliers
- Scissors
- Cord of choice (I used a 24 inch chain ball necklace
Instructions:
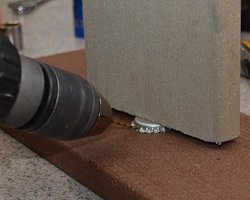
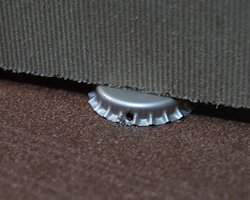
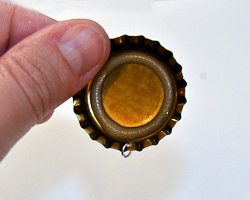
1. Begin by drilling a small hole in the top edge of the bottle cap using a drill with a small drill bit. I found this to be quite easy, but you do have to take some safety precautions. You need to secure the bottle cap someway. Do not use your hands to hold the cap! You can get hurt. If you have a vice, this is perfect, and you can use it to secure the bottle cap. I did not have a vice, so I placed the bottle cap on a piece of wood, and secured it tightly by placing another piece of wood on top. This held it down well while I drilled a small hole. It was very easy and fast to do, and you can do many caps in just a few minutes. Using a drill is much easier than using a nail and a hammer to make the hole, although this approach can also be used if you do not have a drill.
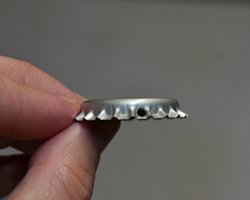
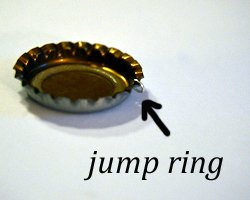
2. Open up a jump ring with your jewelry pliers. Thread it through the hole in the bottle cap, and crimp the jump ring closed.
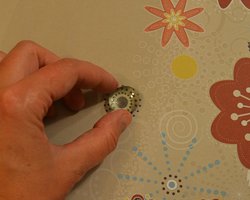
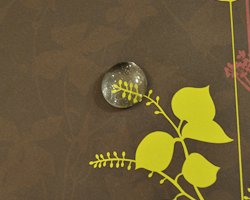
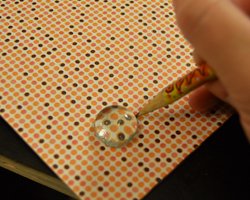
3. Next, get out a few of your flat bottomed glass marbles and place them in different areas of your scrapbook paper. Take a look at the design through the glass. You will notice the pattern becomes enlarged and magnified. Play around with different areas on the paper until you find an area you like. Then, trace around the stone on the paper and cut the circle out of the paper.
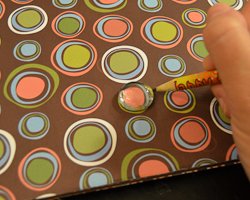
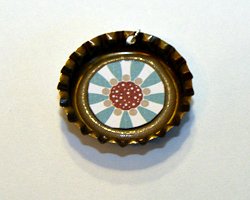
4. Glue the circle of paper in the center
of the upside down bottle cap with a drop of glue.
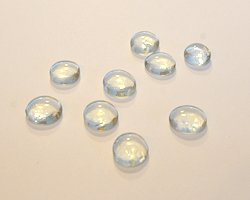
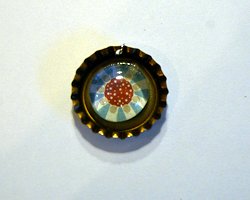
5. Place a nice dollop of clear glue on the flat bottom part of the glass stone. Then, press the stone right in the center of the bottle cap over the design. Apply enough pressure so the glue spreads evenly and cannot be seen through the glass marble. E6000 glue worked great for this.
6. For the edges, you can use little seed
beads, larger beads, pearl beads, sequins, etc. Play around
with a few different looks first, before you glue them in.
7. When you know the bead type and color
you want to glue along the edge, apply a thick line of glue
around the rim of the bottle cap. Allow it to settle to the
bottom, then pour in some seed beads in your color of choice.
Push and place the beads just how you want them in the glue.
I used a my jewelry pliers to help manage the beads.
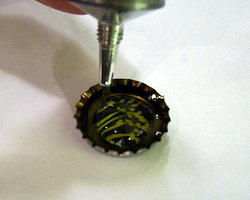
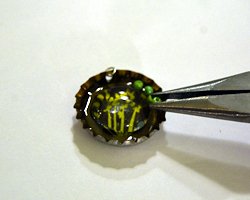
8. The last step is to add your cord of choice. You can try ribbon, leather cord, or these metal cords like I did. Have fun wearing your bottle cap necklaces! Bottle cap necklaces can be given away as gifts or make one to match every outfit!
Would you consider a small donation?
You will receive my craft ebook as a thank you!
Every little bit helps! If you are enjoying this site, would you consider making a small donation? I use the extra money to help with the cost of craft supplies! With any $5.00 donation or more, you will receive my 650 page ebook full of 178 craft tutorials from this site. Thank you for your consideration!
Click here to learn more about the book, and to make a donation.
Home › Teen Crafts › Bottle Cap Necklaces


