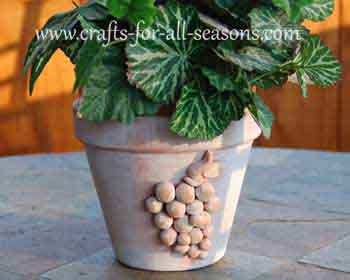
Decorated Flower Pot
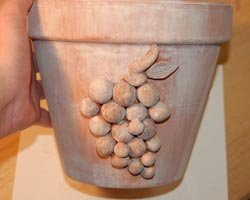
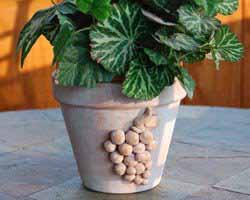
This decorated flower pot is very impressive. It is a wonderful gift for Mom or any plant lover. I have given them away as teacher's gifts too!
It is made from a simple Terracotta pot and air hardening clay. You do not need to have any prior experience working with clay to make this craft.
All the step by step directions are below. Get creative and think of some other designs to put on your flower pot!
If you would like to find a use for the rest of the clay you did not use, be sure to check out the football coin holder project on the Father's Day page.
Materials Needed:
- Terracotta flower pot (you can pick these up at the dollar store or craft store, usually for only $1)
- Air hardening clay in Terracotta color (sold by the polymer clay in craft stores),
- Strong glue, such as E6000
- White acrylic paint
- Paint brush
- Sandpaper
Instructions for a Decorated Flower Pot:
1.
Begin your decorated flower pot by washing and drying the
Terra cotta pot completely. Open up the package of air
hardening clay. Follow the manufacturer's instructions on how
to work with it and store it. Usually it is very soft right
out of the package, ready to mold. Store unused clay tightly
wrapped in plastic wrap and in an air-tight container. Begin
to roll little balls of clay between your hands, to make the grapes.
Make some large, some small.

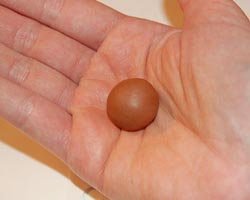
2. Begin to assemble the bunch of grapes. Make the stem by rolling a small cylinder of clay, and then bending it. Make a leaf by rolling a ball, then pinching it at each end to make a football shape, then flatten slightly. Set up your work to dry on a piece of card stock.
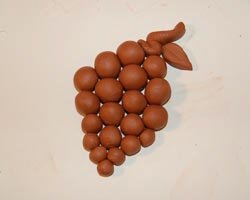
3.
Allow to dry completely. Follow the manufacturer's
instructions. It usually takes a full day for the clay balls
to harden.
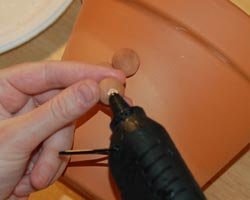
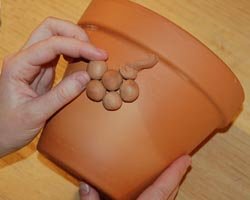
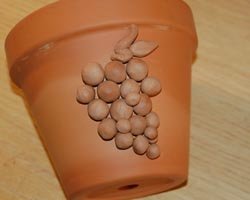
4. Take one grape at a time, and apply a strong glue, such as E6000, to each one.
The photos show using a hot glue gun, but hot glue isn't as strong and the grapes may pop off over time. E6000 glue works really well. Then adhere the grape to the side of the flower pot.
Try to maintain the design, working from the middle of the
bunch of grapes, out.
5.
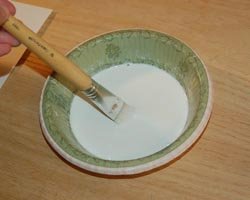
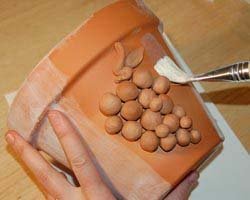
Mix 1 part white acrylic paint to 8 parts water, in a
disposable bowl. Apply this whitewash with a large paint
brush to the entire pot, including the grape design. Allow
to dry.
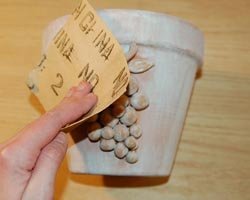
6.
Sand the grape design lightly with the sand paper to lightly
buff off some of the whitewash from the grape design for a worn effect.
The decorated flower pot is now ready to use.
Would you consider a small donation?
You will receive my craft ebook as a thank you!
Every little bit helps! If you are enjoying this site, would you consider making a small donation? I use the extra money to help with the cost of craft supplies! With any $5.00 donation or more, you will receive my 650 page ebook full of 178 craft tutorials from this site. Thank you for your consideration!
Click here to learn more about the book, and to make a donation.
Home › Spring Crafts › Decorated Flower Pot
Home › Mother's Day Crafts › Decorated Flower Pot
Home › Crafts for Teens › Decorated Flower Pot
Home › Crafts for Adults › Decorated Flower Pot
Home › All Occasion Crafts › Decorated Flower Pot
