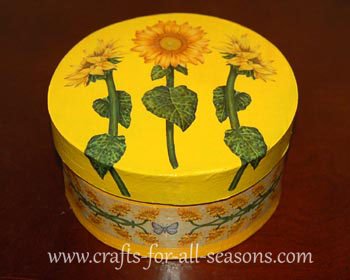
Decoupage Box
How to Decoupage
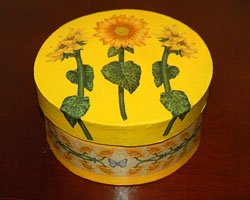
This pretty decoupage box is a beautiful handmade gift that anyone would enjoy! Decoupage is a wonderful tool to transform any object into a work of art.
If you have never tried it before, you will be amazed at the end results and the endless possibilities. Anyone can do it, including children. All you need to know how to do is cut and paste.
Almost any surface can be decoupaged, including glass. So use your imagination! The basic method is paper is cut, glued to the surface, and painted over with a varnish or glaze.
Commercial decoupage mediums are sold in craft stores. I highly recommend them, because they serve as the glue AND the sealer, with wonderful results. A popular brand name is Mod Podge. Or, regular white glue can be thinned out with water and used instead.
Any paper can be used and saved for decoupage, including wallpaper, images from greeting cards, wrapping paper, napkins, photographs, etc. The thinner the paper, the better the results will be. I love using decoupage paper, which is specifically made for this purpose. It is sold in craft stores. It is inexpensive, very thin and easy to work with, and often have many nice designs. For this project below, I used decoupage paper.
Begin to keep a look out for great paper designs, fun wrapping paper, and pretty napkins. Store them in a box with your craft things and soon you'll have a whole collection of decoupage papers!
Other nice things to decoupage, that would be great gifts for Mom are: photo frames, vases, clear glass plates, candle holders, even lamp shades!Materials Needed:
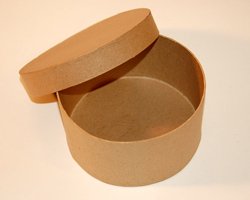
- Cardboard box (sold unfinished in craft stores, and are very inexpensive)
- Decoupage Medium (like Mod Podge), or use white glue thinned out with water
- Decoupage paper
- Sharp scissors
- Paint brush
- Acrylic paints
Instructions for the Decoupage Box
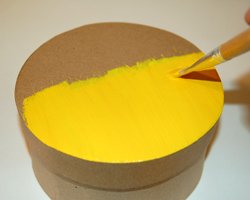
1. Begin your decoupage box by painting your cardboard box with acrylic paints, and allow to dry. Apply two coats if necessary.
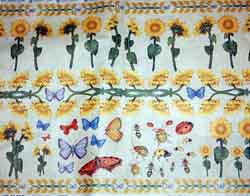
2. Cut out your designs from the decoupage paper. Below left is a sheet of decoupage paper I bought from a craft store. But remember, you can collect paper of your own. Be creative! The thinner the paper, the better. Cut carefully around your designs. Use sharp scissors. Small cuticle scissors work really well for intricate designs. Turn the paper as you cut, not the scissors.
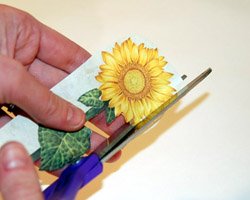
3. Apply the decoupage medium, or glue, to the base of the decoupage box. It works best if you apply this to the base, NOT to the back of the paper design you are gluing. Apply the medium with a paint brush to get thorough coverage. Then carefully lay your design down on the glue. Push down on the design with your fingertips, working from the middle out to the edges, to release any air bubbles.
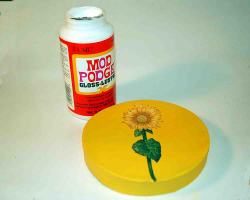
4. When the design is applied to the top of the box and the sides, brush over the entire box with a coat of the decoupage medium to seal. This dries clear and dries pretty fast. Apply a few coats.
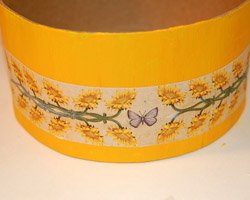
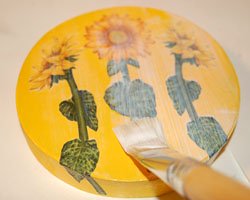
5. The final product can be sanded down to a smooth finish if you wish (this may be necessary if you are decoupaging on wood or metal). You can also add a coat of varnish or glaze. For this decoupage box, nothing was used except the Mod Podge. Good luck and have fun looking for other creative things to decoupage!
Would you consider a small donation?
You will receive my craft ebook as a thank you!
Every little bit helps! If you are enjoying this site, would you consider making a small donation? I use the extra money to help with the cost of craft supplies! With any $5.00 donation or more, you will receive my 650 page ebook full of 178 craft tutorials from this site. Thank you for your consideration!
Click here to learn more about the book, and to make a donation.
Home › Crafts For Teens › Decoupage Box
Home › Crafts For Adults › Decoupage Box
Home › All Occasion Crafts › Decoupage Box
