Grape Cluster Ornament
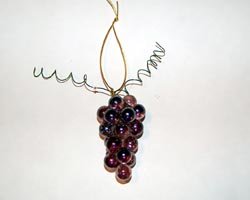
his grape cluster ornament is made out of glass stone marbles, and it looks beautiful for any time of year. It makes a perfect Christmas gift for a wine lover, or it would look beautiful hanging by a window.
Glass stone marbles are sold in craft stores and discount stores. They can usually be found by the floral supplies since they are used to fill vases. The tag shown here is made from shrink film, and can be changed to say whatever you like. You can personalize it anyway you wish!
Materials Needed for this Wine Craft:
- Gauge 22 Green wire
- Wire cutters
- jewelry needlenose pliers
- pencil or pen
- hot glue gun, or other strong glue
- shrink film for the tag (optional)
- hole punch
- jewelry jump rings to attach the tag (sold near jewelry findings)
- 2 crimp tubes to attach the tag (sold near jewelry findings)
- cord for hanging
- light green or light purple glass marbles
Instructions for the Grape Cluster Ornament:
1. Begin
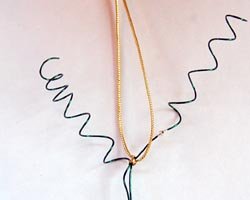
the grape cluster ornament by cutting off two six inch lengths of green
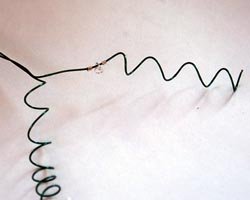
wire. Wrap the second half of each wire length around a pen or pencil
in a spiral shape, and then slide the pen out.
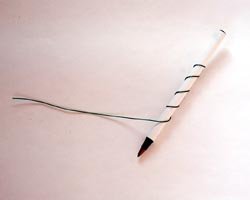
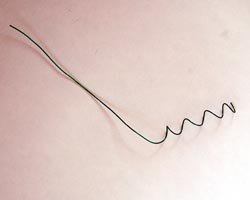
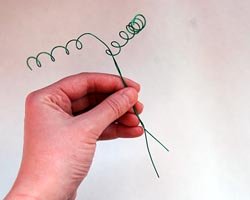
2. Twist the straight ends of the two wires around each other to secure
them to one another.
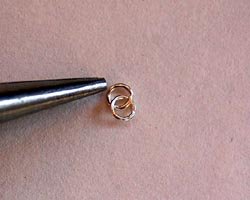
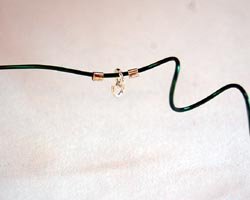
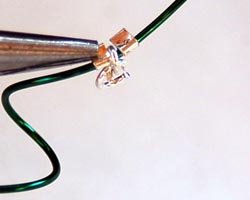
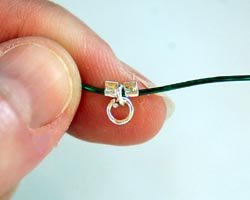
3. If you plan to attach a tag, then attach two jump loops together with pliers. Thread a crimp tube, then the two connected jump rings, then another crimp tube to one of the spiral wires. Thread them to the base of the spiral, then secure by squeezing the crimp tubes down with pliers, so the jump ring cannot slide off.
4. Tie your cord for hanging the ornament near the base of the two
wires. It is easiest to do this before you glue on the grapes.
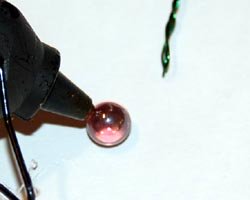
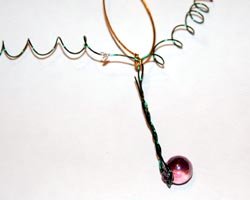
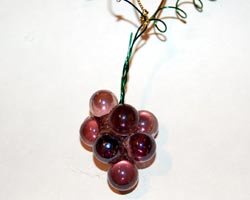
5. Begin gluing marbles around the green wire stem. I used a hot glue gun because it cures so quickly. However, hot glue isn't the strongest glue around. You could also try to use a two part epoxy, E6000, or superglue. Continue gluing grapes in a random order to create a grape cluster.
6. If you would like to create a tag, create it using any graphic
program and print it out on printer shrink film. Shrink film is usually
available in craft stores and some office supply stores. If you
make your own template, remember that the shrink film typically shrinks
to 1/3 of its original size in the oven. If you would like to use my
template for the tag shown below, click here and a PDF file will open
in a new window. Add your shrink film paper to your printer and select
"print".


7. Once your design is printed out, cut it out, and punch a hole near
the top of the tag with a hole punch. Cook the tag in the oven
according to the manufacturer's instructions. The tag will be done when
it is done curling up and is laying flat again. Make sure you do not
overcook.
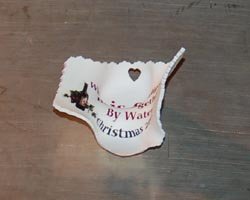
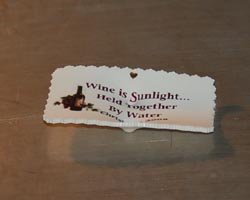

8. Attach the tag by threading it on the cord. Enjoy!

Suggestions from Others:
by Karen
Fort Worth, TX, USA
"To make this less heavy I used light green/purple miniature pom-poms."
Would you consider a small donation?
You will receive my craft ebook as a thank you!
Every little bit helps! If you are enjoying this site, would you consider making a small donation? I use the extra money to help with the cost of craft supplies! With any $5.00 donation or more, you will receive my 650 page ebook full of 178 craft tutorials from this site. Thank you for your consideration!
Click here to learn more about the book, and to make a donation.


