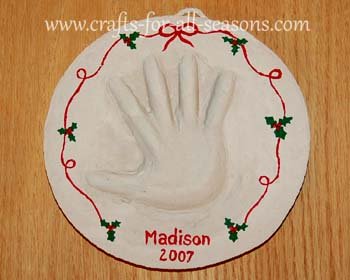
Handprint Plaque - Perfect for Baby or a Small Child
This handprint plaque can be made at any time of year, but it is special to make one for your child at Christmas so it can be displayed at this wonderful time each year.
Your child and you will have fun seeing how much they've grown since last year. I remembered this craft from when I was in my kindergarten class. The teacher helped each of us make one of these to take home to our parents as a Christmas gift.
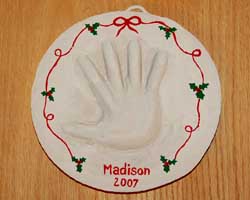
My parents still have mine and continue to display it every year. Now this year, I have made one for my daughter Madison and I would like to share the instructions with you to enjoy as well.
Materials Needed for the Handprint Plaque:
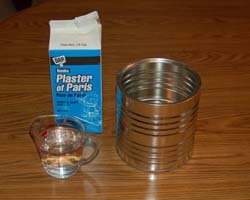
- Plaster of Paris (available in craft stores, usually sold near the clay products)
- Water
- Mixing container (I used a coffee can)
- Mixing wand (such as a disposable paint stirring stick)
- An aluminum disposable pin tin (I used one that measured about 8 inches across)
- A nail or other sharp object
- Strong cord for hanging
- Paints and paintbrush for decorating
- Your child's hand (obviously)
Instructions for the Handprint Plaque
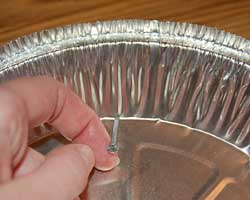
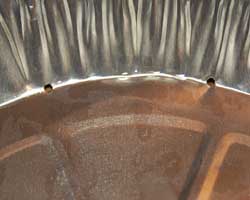
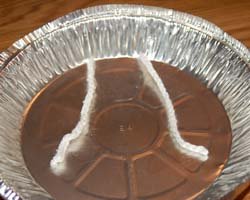
1. Begin the handprint plaque by preparing the pie tie (mold). To create a loop for hanging the plaque, use a nail or another sharp object to punch a small hole in the top of the pie tin, at the corner edge of the bottom of the pie tin and where the side begins (see photo for placement help). Then punch another hole about an inch away.
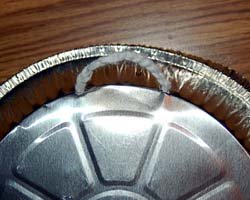
2. Next, cut a length of strong cord or ribbon to hanging.
Thread this through the two holes, so you have a loop on the
outside of the pie tin, and the two ends are hanging inside the mold.
Don't cut the ends too short, because you want to get a good
adhesion with the plaster to avoid the ends slipping out of the mold
when it is dry. Use cord that is slightly thicker than the
holes you made, so plaster doesn't ooze out.
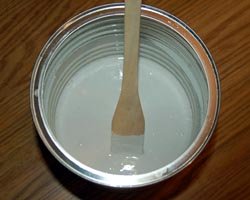
3. Now it is time to mix up the Plaster of Paris. Follow the manufacturer's instructions, but it is usually 2 parts plaster powder to 1 part water. Mix this in your container and stir it up well with the paint stirrer stick to make sure there are no clumps left. Read the warnings on the Plaster of Paris container, and be sure to mix this in a area with good ventilation to avoid breathing in the dust. I mixed 3 cups of dry plaster with 1.5 cups of water to have enough to fill the mold.
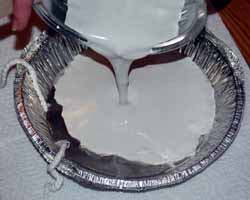
4. Dampen the pie mold slightly with water. This will make the mold easier to remove when it is dry. Then, begin pouring in the plaster. Take your time. Stop once in awhile and tap the pie tin mold to remove any bubbles and make sure the plaster is settling evenly. Make sure you are covering the hanging loop cord ends and that they are embedded in the middle of the mold. To ensure this, pour a little plaster under the cords. The first photo below shows how I have moved them out of the way. Then stop and embed them in the plaster, and pour more above them. Once the plaster is poured, smooth it out if necessary using your stirring tool, and allow to set for about 10 minutes or so.
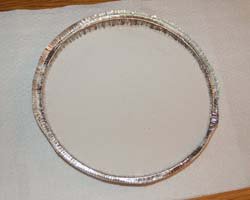
5. Don't let the mold sit too long. 10
minutes is just a guide line. Keep checking by lighting
tapping your finger on the surface (mistakes can usually be smoothed
away quickly). You want the mold to stiffen enough so it is
not liquid anymore, but solidified enough for the handprint to remain
imprinted. If you want too long though, it will be too
difficult to push your child's hand deep enough into the plaster.
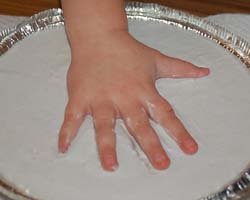
6. The next step for the handprint plaque is to help your
child place his or her hand into the middle of the plaster mold.
Have them spread their fingers nice and wide. You
can help by pushing each little finger and thumb into the plaster to a
good impression. Also push the heel of their hand in firmly,
then help them remove their hand. Wash their hand extremely
well after being in the plaster.
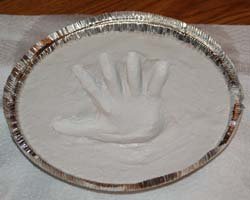
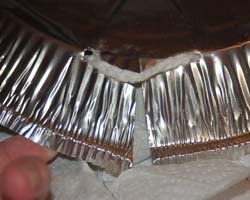
7. Let the mold air dry completely. Allow 24 hours to be safe. Then gently flip your mold upside down. Use some scissors to cut a slit in the pie tin mold between the two holes where the corded loop is coming out, so it can be safely released from the mold. Then just let the handprint cast slip out of the mold.
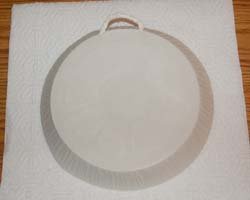
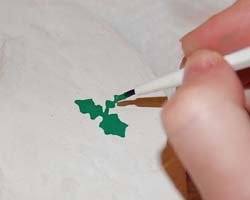
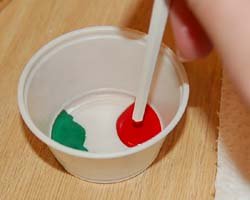
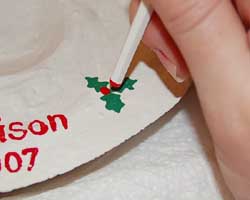
8. The handprint plaque is now ready to decorate in any way you choose with paints. I put my daughter's name and the year on this one, just like my kindergarten teacher did to mine. I also painted on some holly and berries. If you would like to duplicate this technique, the holly leaves are relatively easy to paint on. Make groups of three leaves. For the berries, just dip the other end of your paint brush into red paint to make little dots. Simple and easy!
Would you consider a small donation?
You will receive my craft ebook as a thank you!
Every little bit helps! If you are enjoying this site, would you consider making a small donation? I use the extra money to help with the cost of craft supplies! With any $5.00 donation or more, you will receive my 650 page ebook full of 178 craft tutorials from this site. Thank you for your consideration!
Click here to learn more about the book, and to make a donation.
