How to Scrapbook: Putting it all Together!
How to scrapbook? There's no right way to start making a scrapbook page. Everyone has their own technique. But if you really are stumped on how to begin, maybe you'll find some help in reading how I make a page.
How to Scrapbook: Creating the Layout
I begin by gathering all my photos related to an
event and cropping them. The term cropping simply means to cut your
photo to only include the subject and/or what is important in the
photo. However, not all photos should be cropped. Some photos are so
beautiful nothing should be cut out. Use your judgment.
Cropping does two things. It
allows the
photo to be made smaller so that more photos can fit on a page.
See how many photos fit on the 8.5"x11" page shown below?
Cropping also makes the photos stand out by showing the
subject clearly and eliminating anything distracting in the background.
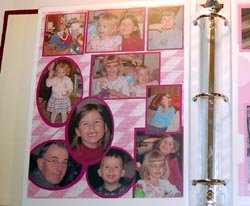 Many photos can fit on a page when they are cropped
I often use my plastic template stencil to cut my
photo into an oval, smaller rectangle, etc. After I have all
my photos cropped, I choose a background paper. The patterned
pages are nice, but more often than not I choose a solid color of
cardstock as my background. To choose the color to use, I
look at all the photos I want on the page and see if there are colors
that stand out. If the person is the photo is wearing a blue
shirt then a blue background would look nice with them.
Next, I pick another complementary color of
cardstock that goes well with the background paper. It may be
another color that appears in the photos. This cardstock will
be used to mat the photos. I place all the cropped photos on
the piece of cardstock, in whatever way they fit best, and
glue them down with the glue stick. Then, I cut around the
photos leaving a thin border of the cardstock to act as the mat.
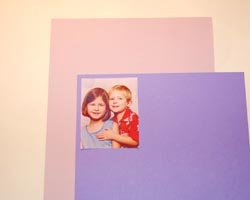
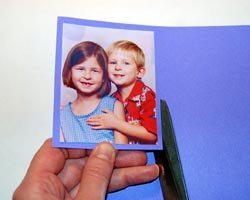
When all the photos are matted, then I arrange them on the background paper in a way that they all fit well and is pleasing to the eye. Make sure you leave room for a title and some journaling too. Once you have it layed out right, glue the photos down.
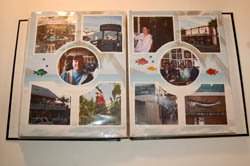
Next it is time to add a title and journaling to
the page. It is important to add the date and to identify who
is in the photos. Family members generations from now may
look at your scrapbooks and want to know who the people in the
photographs are. You can use the fonts on your computer and
print right on your cardstock to add titles and journaling, or
write it out by hand with a marker. There are also some great
websites with wonderful ideas.
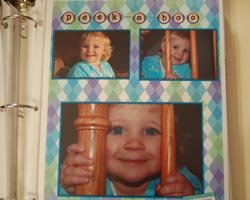
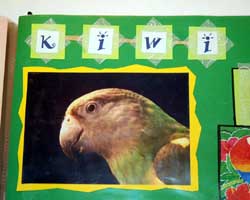 Examples of matting photos and adding titles to pages
Scrapbooking takes some time and patience but it can be a very relaxing and enjoyable hobby. You will feel so proud that you are preserving your memories for generations to come!
Home › Scrapbooking for Beginners › Types of Albums › Scrapbooking Supplies › How to Scrapbook


