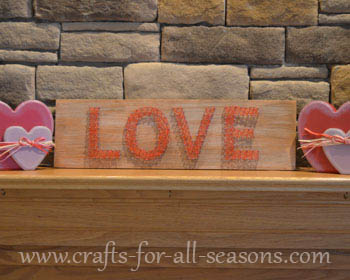
Love String Art
I was inspired to make this LOVE string art when I got out my Valentine's Day box this year. I realized my decorations for February needed some serious updating. So I purged some of the old stuff and then stared at my mantle, wondering what to make to put up there.
I've love the look of distressed wood, so I knew I wanted to make some type of plaque or sign for up there. Spelling the word L-O-V-E was obvious, and maybe not so creative. But it's appropriate. All you need is love after all, right? Actually, it is perfect.
And.... I really enjoy my string art pieces I have in my house (in case you didn't catch those projects, you can see them here). So, it seemed like a good choice to make the letters with string art. String art is easy, fast, and inexpensive.
This full tutorial explains how I made the wood look aged, and includes a template of the LOVE letters you can print out, if needed. It also has step by step directions on how to do the string art itself. How long does it take? Not too bad. I hammered in all the nails and wrapped the string in one sitting, about 2 hours.
Materials Needed for the LOVE string art
- piece of scrap wood (mine was pine, 24 inches wide by 7 inches high, about 1/2 inch thickness)
- sandpaper
- wood stain (I used Minwax Wood Finish in Ipswich Pin 221)
- white acrylic paint and paintbrush
- wire nails with a small head - I used size 7/8 x 17
- hammer
- red embroidery floss (or similar red string) - I used Janlynn brand in color #421
- scissors
Instructions for the LOVE String Art
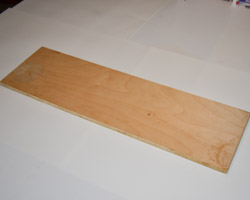
1. Begin by preparing your wood piece. Cut it to the size you want, and sand it down well. My scrap piece of wood was about 1/2 inch in thickness, and I cut it to be 24 inches long. I was already 7 inches wide.
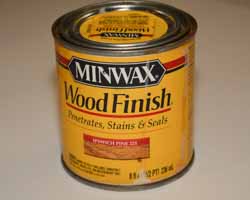
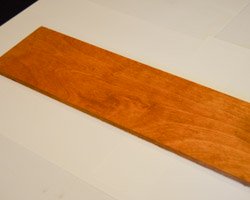
2. Apply a coat of stain (in the color of your choice) to the wood and allow it to dry well. I used Mixwax Wood Finish in Ipswich Pine 221.
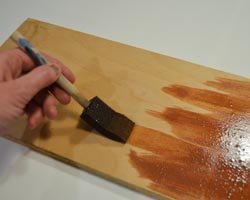
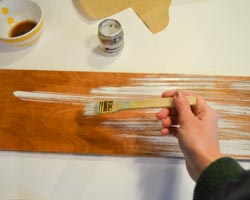
3. To create an aged, weather look, I streaked on some washed out white paint. To do this, mix one part white acrylic paint with one part water, to thin it out, and mix well. Apply a thin coat of this paint to the wood, coating it very lightly. Allow it to dry completely.
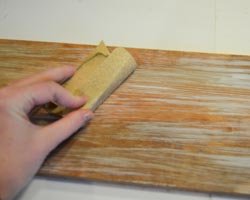
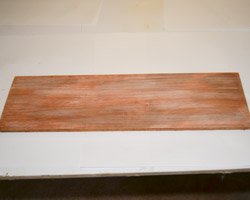
4. Once it is dry, sand over the white paint with some sandpaper. The idea is to remove most of it, leaving a bit of an aged look behind.
6. Now its time to design your letters. If you would like to use my template, you can open it here and print it out. This prints on standard 8.5 x 11 inch paper and there are two pages. I kept mine simple... block form. But you could get fancy. Pick out a font you like and print out your letters nice and big so they fit. Then, cut out each letter. You could also cut out letters using a die-cut machine, if you have one.

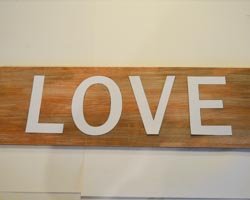
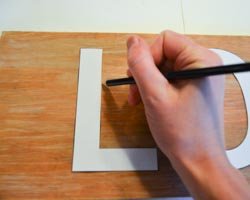
6. Place your cut out letters evenly along your wood plaque. Once you have them where you want them, trace around them with a pencil.
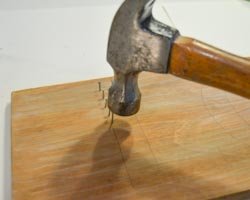
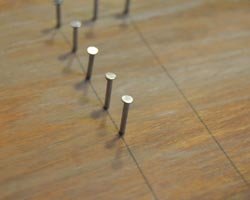
7. Using your traced pattern as a guide, begin hammering in nails along the path. Don't freak out here, you don't have to be perfect. I don't go to the trouble of measuring the distance between each nail, but rather "eye" it. I roughly place the nails about 3/4 inch apart. Try to hammer them in to the same depth, and try to hammer them in straight. It won't be perfect, but don't worry. It is hardly noticeable! It is important to have a nail at any corner of a pattern, such as the bottom point of the "V" for example, to define its shape well.
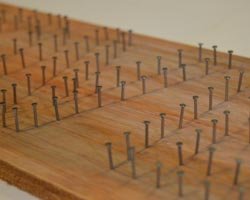
8. The embroidery floss I used has six strands, which I thought was a little thick. I cut off a nice length of floss and then divided it into three strands each.

9. Begin by choosing one nail, and secure the string around it by tying a regular square knot. I've never had knots come loose on any of my projects, but if makes you feel at ease, you can add a little drop of glue. Cut off the excess.
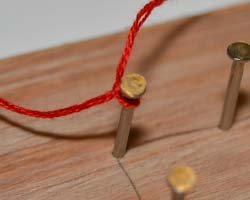
10. I like to begin by wrapping the string once around each nail on the perimeter of the letter, to define its shape. I usually do this in the beginning and again at the end. Simply twist the string around each nail once, and keep tension on your string so there isn't any slack.
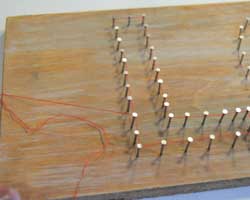
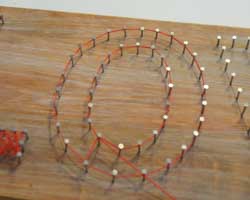
11. Next, start to criss-cross the string between nails, going in a random pattern. Keep going until you feel you have enough string and the color is dense enough. You will find throughout the process that you will run out of string at times. Carefully tie a square knot around one of the nails and clip off the excess. When you are finished, each nail should have a few layers of string along the length of the nail.
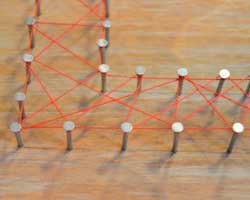
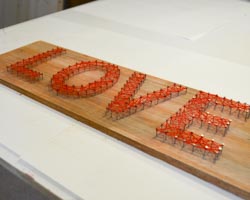
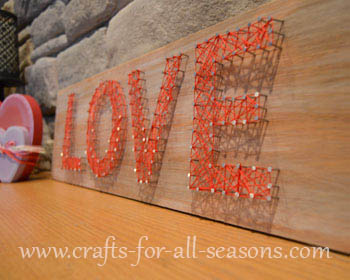
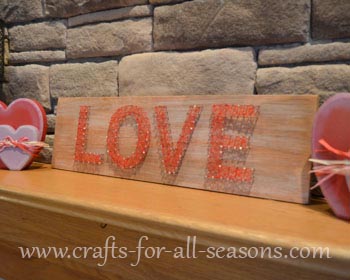
12. Here are a few photos of the finished LOVE string art. I hope you enjoyed this tutorial!
Would you consider a small donation?
You will receive my craft ebook as a thank you!
Every little bit helps! If you are enjoying this site, would you consider making a small donation? I use the extra money to help with the cost of craft supplies! With any $5.00 donation or more, you will receive my 650 page ebook full of 178 craft tutorials from this site. Thank you for your consideration!
Click here to learn more about the book, and to make a donation.
Home › Valentine's Day Craft › LOVE string art
Home › Crafts for Adults › LOVE string art
