Painted Canvas Art
I wanted to share this painted canvas art
I made for our bathroom. This project was easy and didn't require
much artistic ability, because I used a shape cut with my
Cricut, as a reverse stencil.
What I also love is you can pick your palette of colors, to match your decor. I had just painted our bathroom a mossy green, with a cream trim. I had some paint left over from both the walls and the trim, so I used those paints on these canvases. I rummaged around our basement where we keep all our leftover paints, and found a brown and tan that I liked too, so all I really had to buy for this project was the canvases. I just waited until canvases went on sale at my local craft store and bought four.
If you don’t have a Cricut or a shape you want to use, you can
also use real leaves or flowers as a reverse stencil. I saw an example of
this on Pinterest, but you will need to use spray paint as your top
coat of paint. And of course, it doesn’t have to be
botanicals… choose any interesting shapes and make painted
canvas art!
Materials Needed:
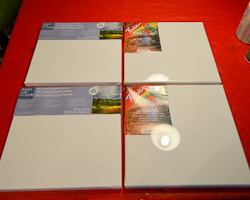
- 4 Blank Canvases, 12 inch x 12 inch
- 5 shades of paint
- paintbrush and/or sponge stenciling brush
- Botanical shapes cut out of paper (cut with my Cricut Expression and the Storybook cartridge)
Painted Canvas Art Instructions
1. I began by
determining my colors and the shapes I wanted on each. For
colors, pick one main color for all the canvases, to unify them (for me
it was cream). Then, figure out four different complementary
colors that each plant will be.
For the shapes of the plants, I used the Storybook cartridge which I
love for all its pretty leaves and branches! I chose a couple shapes I
liked, and then experimented with cutting them out to get just the
right size. Figure out all your shapes, and get them cut out on
sturdy cardstock and you’ll be ready to go.
Here is a photo of the canvases I bought on sale:
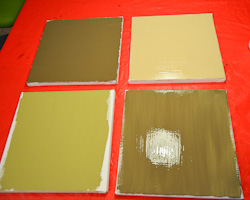
2. Paint all four canvases with the four
different complementary shades that you want the plants to end up
being. Allow the canvases to dry thoroughly while you go take a break.
.
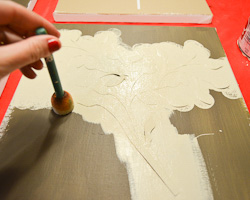
3. Place your paper shapes on the canvases, and paint all around them and over them with your unifying color (cream), while holding the shapes in place. I used a sponge stenciling brush for this.
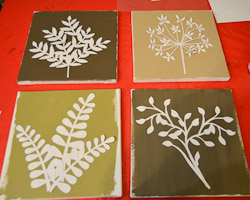
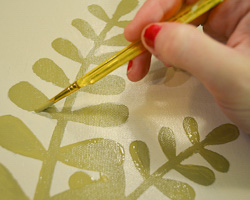
4. When I finished, I lifted up the shape and noticed the paint wasn’t perfect; as some bleeding occurred. I allowed everything to dry, then starting touching up.
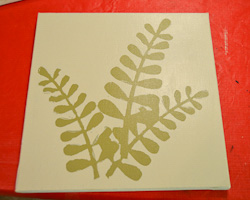
5. I took my time and touched up all the designs,
then allowed them to dry completely.
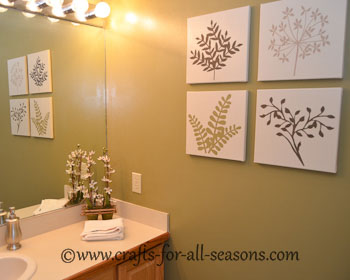
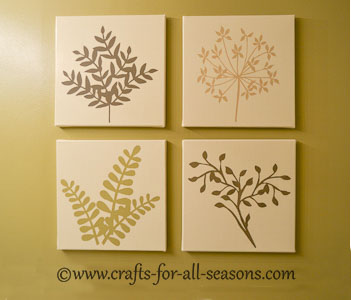
6. They are all done now, and ready to hang. I chose to hang mine as a grid in a square… but they can go up and down in a column, in a grid like a diamond, or all side by side. Take your time measuring!
Would you consider a small donation?
You will receive my craft ebook as a thank you!
Every little bit helps! If you are enjoying this site, would you consider making a small donation? I use the extra money to help with the cost of craft supplies! With any $5.00 donation or more, you will receive my 650 page ebook full of 178 craft tutorials from this site. Thank you for your consideration!
Click here to learn more about the book, and to make a donation.
Home › Crafts for Adults › Painted Canvas Art
Home › All Occasion Crafts › Painted Canvas Art


