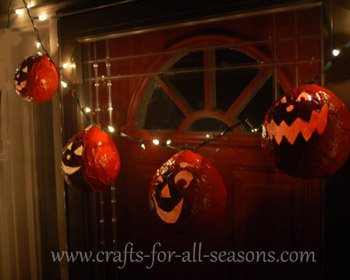
Paper Mache Pumpkins
These paper mache pumpkins are made from balloons wrapped in newspaper strips that have been dipped in a mixture of flour and water.
This project does take some time depending on how many pumpkins you would like to make. For me, it took about 30 minutes to wrap up each pumpkin in paper mache.
The pumpkins also have to be allowed to dry for 2 to 3 days. Once dry, the balloon is popped and a face is carved with an exacto knife. The pumpkins can then be painted and hung along a string of lights. If you take good care of them, this decoration will last for many years!
Materials Needed:
- A balloon for each pumpkin, small or large, you choose.
- String
- Newspaper
- Flour
- Water
- Mixing bowl and spoon
- Exacto knife/blade
- Scissors
- Orange paint (spray paint works the quickest)
- Mod Podge to seal (optional)
- String of lights (optional)
- Pipecleaners (one for each pumpkin)
Instructions for Paper Mache Pumpkins
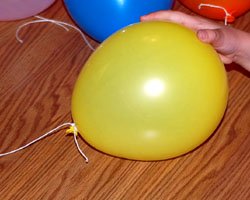
1. Decide where you would like the pumpkins to dry and get that area ready. If you do it indoors, protect the floor in case there is dripping. Tie a length of string to allow the pumpkins to dry on (like a clothesline). Begin the paper mache pumpkins by blowing up all the balloons, one balloon for each pumpkin you would like to make. Then, tie a length of string to each balloon. This string is just used to tie the balloon to the clothesline and later it will be cut off.
2.
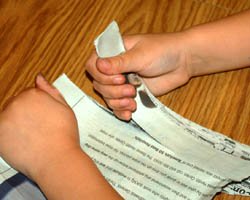
Prepare your newspaper strips in advance. Simply tear about 1 inch wide
strips of newspaper and put them all in a big pile. Do not make them
too long, as it will be hard to wrap them around the balloon if they
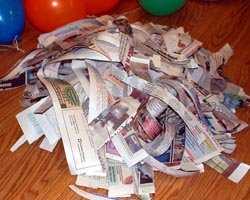
are too long. This big pile shown here was enough for me to cover five
balloons.
3. Prepare the paper mache mixture. Mix 2 cups of flour to 2 cups of water and mix until it is smooth. You may have to make more of this depending on how many pumpkins you make. For example, to do the five pumpkins shown in this project I needed 4 cups of flour to 4 cups of water.
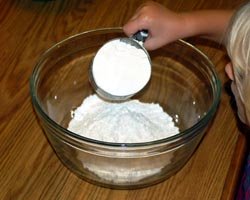
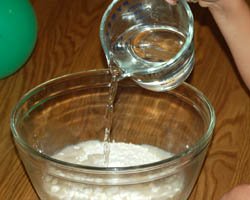
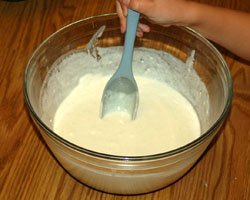
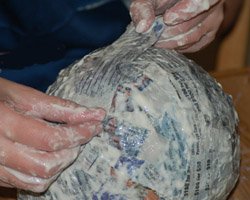
4. Dip a newspaper strip into the paper mache mixture until it is completely soaked, and then run your fingers over it to remove excess paper mache. Then, wrap the strip of paper around the balloon. Protect your work surface if you need to. This is a messy job and the table you are working on will get messy, but usually it will wipe up easily later on with a soapy sponge. Cover the entire balloon with newspaper strips, overlapping then when necessary, so you cannot see any of the balloon. You can leave the stem pointing through. The goal is to cover the balloon with three complete layers of newspaper strips. I found the easy way to keep track of the layers is as follows: The first layer is easy; you will know you are done when you cannot see anymore of the balloon. For the second layer, add drier newspaper strips on top of the already wet strips to help keep track. For the last layers, layer on wet gooey strips once again.
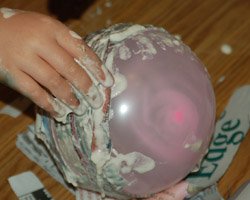
5.
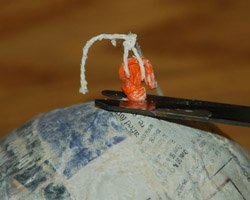
When you are finished, use the length of string you tied to each
balloon and tie it to the clothesline you prepared. Allow the pumpkins
to dry completely. This may take 2 to 3 days. When they are dry, remove
them from the clothesline and cut off the balloon stem. The balloon
will slowly peel away from the sides so it can be removed.
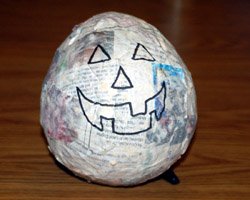
6. Draw a jack-o-lantern face on each pumpkin with a marker or pen. Don't worry if you make mistakes, everything will be covered later with paint.
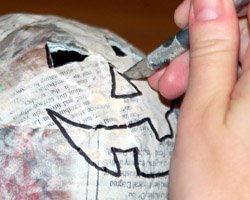
7.
Cut out the jack-o-lantern face with an exacto knife, much the same way
you would do if you were carving an actual pumpkin. Do not allow
children to do this step, the exacto knives are sharp! There is no need
to hide the lines you drew, since you will be painting the pumpkin
next. Try to remove the pieces as they fall into the pumpkin if
possible.
8.
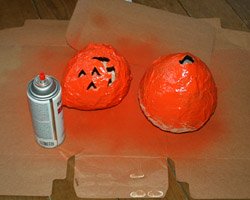
Take the pumpkin outside and give it one or two coats of orange spray
paint. Or, paint it with acrylic paint with a paint brush. Allow the
paper mache pumpkins to dry completely. Apply a coat of Mod Podge to
seal them, if desired.
9.
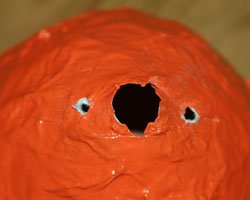
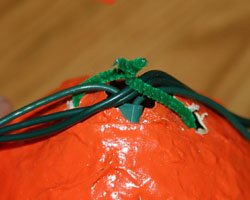
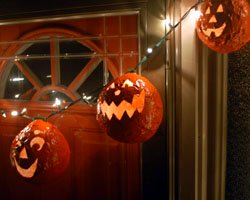
Your paper mache pumpkins are almost done! To hang them on a string of
lights (or any other garland or string) cut two small holes on either
side of the top hole that is on the end of each pumpkin. You can then
use a pipecleaner to thread through these two holes and secure to the
lights. The tiny light bulb can fit inside the top hole where the
balloon stem was. Enjoy!
Would you consider a small donation?
You will receive my craft ebook as a thank you!
Every little bit helps! If you are enjoying this site, would you consider making a small donation? I use the extra money to help with the cost of craft supplies! With any $5.00 donation or more, you will receive my 650 page ebook full of 178 craft tutorials from this site. Thank you for your consideration!
Click here to learn more about the book, and to make a donation.
Home › Halloween Crafts › Paper Mache Pumpkins
