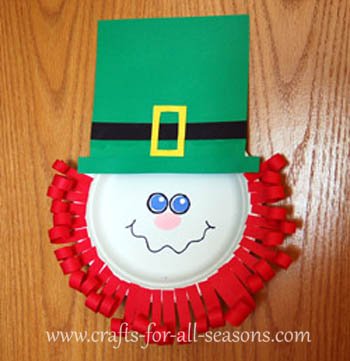
Paper Plate Leprechaun
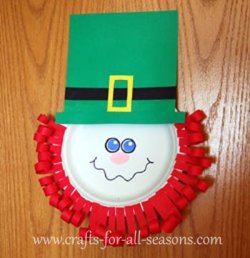
This paper plate leprechaun will make any room more festive for St. Patrick's Day.
This is a great craft idea for children, and is very easy to do. Even very small children can make a leprechaun, if an adult cuts all the pieces that will be needed first.
To eliminate some of the parts needed, small children can also color a face on the paper plate instead of cutting out construction paper for the eyes and nose. All you need is scissors, glue, construction paper, and a paper plate!
Materials Needed:
- Paper plate
- One piece of green construction paper
- One piece of red construction paper
- Construction paper scraps in blue, white, black, pink, and yellow.
- Pencil
- Paper punch (optional)
- Some coins to use as tracing templates
- Scissors
- Glue
Paper Plate Leprechaun Instructions
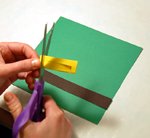
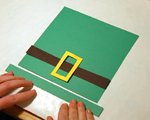
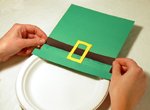
1. Begin
the paper plate leprechaun by making the hat. Cut a square from the
green paper, the size you would like the hat to be. Next, cut a thin
rectangular strip of green construction paper for the brim of the hat.
Make this a little longer than the green square which will be the hat.
Also, you will need to cut a long rectangular strip of black
construction paper for the trim on the hat. This should be the same
width as the green square hat. To make the buckle, use yellow, gold, or
orange construction paper. Take a small scrap, and fold it in half and
cut a rectangle. Along the fold, you can cut out the inside to make a
hollow rectangle. Glue all the pieces in place, and then glue the hat
to the plate.
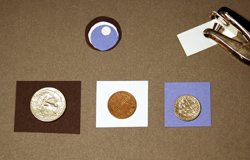
2. The next step is to make the eyes. I used three coins as templates
for tracing, a quarter, penny, and a dime. I used the quarter to trace
a circle in black, the penny to trace a circle in white, and the dime
to trace a circle in blue. Then, you can use a hole punch to punch out
a tiny circle in white for the center of the eye. All these circles
then get glued on top of one another, biggest to smallest, to make the
eyes. Then, glue the eyes to the paper plate.
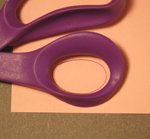
3. Now it is time to make his nose. I used a bit of pink construction
paper scrap, and I used the hole in my scissors as a pattern to trace
an oval. Or, be creative and try to find other things around the house
that can act as tracing templates for a funny shaped nose. Then, glue
the nose on below the eyes.
4. I then used a marker and drew on the mouth. But you can use
construction paper to make a mouth. A big grin would look great with
some chunky teeth showing!
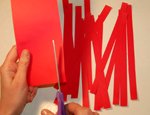
5. Next it is time to make his beard. Take the red construction paper and start cutting thin long strips from it, about 1/4 inch wide. When you are done, take all these strips and cut them in half to make them shorter and so you have twice as many as you started with.
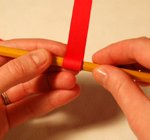
6. Take each strip and roll it tightly around a pencil. This will make
it curly. Then glue each curly strip around the edge of the plate to
make his beard.
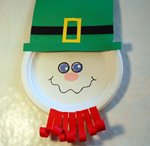
7. Your project is finished! It should hold up well
just using some tape to hang to the door, or a loop of string can be
taped to the back for easy hanging.
Would you consider a small donation?
You will receive my craft ebook as a thank you!
Every little bit helps! If you are enjoying this site, would you consider making a small donation? I use the extra money to help with the cost of craft supplies! With any $5.00 donation or more, you will receive my 650 page ebook full of 178 craft tutorials from this site. Thank you for your consideration!
Click here to learn more about the book, and to make a donation.
Home › St. Patrick's Day Crafts › Paper Plate Leprechaun
Home › Paper Plate Crafts › Paper Plate Leprechaun
Home › Crafts for School Age Kids › Paper Plate Leprechaun
