Pine Cone Turkey
with a twist!
This pine cone turkey isn't like your average turkeys. This one uses some common items for a fun twist, which makes this one very unique. The project is a fun nature craft for children to make for the Thanksgiving season! These make adorable table decorations... one can be placed by each place setting for the big day!
This is also an excellent preschool craft or school art project for children to make and bring home. This turkey craft is made from a pine cone.
Make sure you rinse and completely dry your pine cone for a few days, so make sure any critters go away. If you want to use the pine cones immediately, you can also bake them in the oven at 200 degrees F for 30 minutes to one hour to kill off any bugs. The heat may cause the pine cone to "open" a little more, so just be aware. For this turkey craft, I think an "open" pine cone looks best anyway!
Materials Needed:
- One pine cone (the short fat pine cones look best for this craft)
- Four dried pumpkin seeds
- One black marker
- One red water balloon (or very small balloon)
- Various craft feathers
- Small piece of black or brown Foamie sheet or cardboard
- Scissors
- Glue
Instructions for the Pine Cone Turkey
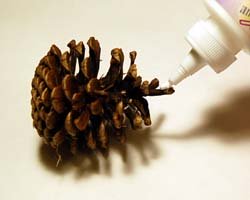
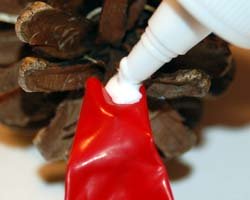
1. Begin the pine cone turkey by squeezing some glue onto the point of the pine cone, where the pine cone tapers together to a point. Try to find one good protrusion to use and dab it with glue, as shown.
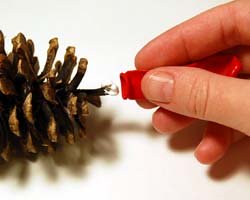
2. Next, put the red water balloon over the tip of the pine cone which you glued. This will be the turkey's wattle. You can also trim the balloon stem if you need to make it a bit shorter, you don't want it to drag on the ground.
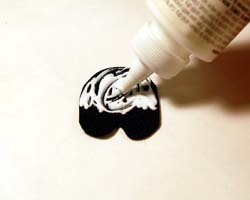
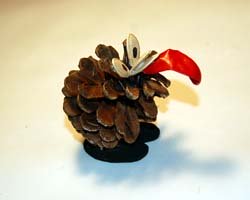
3. Next, cut out a base for the turkey to balance on. This step may not be necessary if the pine cone sits well on its own, but most I found do not. Cut the base using black or brown Foamie board, or use some cardboard or stiff card stock. Then add glue and sit your pine cone turkey on top, and allow it to dry well. A glue gun works best here since it bonds fast and is strong, but only if an adult can do this part.
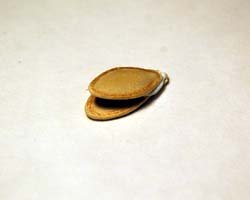
4. To make the beak, glue two pumpkin seeds together at the base. Allow to dry. Then, place some glue on top of the wattle and glue the beak on top.
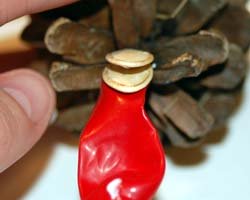
5.
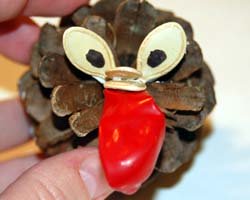
To make the eyes, use a black marker to draw a dot on two
pumpkin seeds. Then, put some glue on a leaf of the pine cone above the
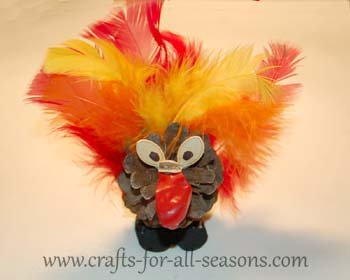
beak. Glue on each eye, as shown below. These pictures below make me laugh... the turkey reminds me of Gonzo from the Muppets!
6.
Glue on some craft feathers to make the tail. Red,
orange, yellow, and browns look the most natural. Place the
feathers in the leaves of the pine cone, with some glue to secure.
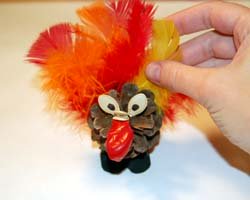
7. Your little pine cone turkey is now done and ready to decorate the Thanksgiving table!
Would you consider a small donation?
You will receive my craft ebook as a thank you!
Every little bit helps! If you are enjoying this site, would you consider making a small donation? I use the extra money to help with the cost of craft supplies! With any $5.00 donation or more, you will receive my 650 page ebook full of 178 craft tutorials from this site. Thank you for your consideration!
Click here to learn more about the book, and to make a donation.
Home › Thanksgiving Day Crafts Pine Cone Turkey
Home › Crafts for School Age Kids › Pine Cone Turkey
Home › Crafts for Teens › Pine Cone Turkey
Home › Crafts for Adults › Pine Cone Turkey


