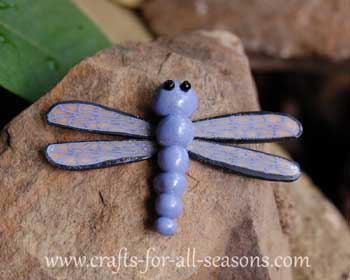
Polymer Clay Dragonfly
Polymer Clay Crafts
This polymer clay dragonfly can be made into a pin, a necklace, glued onto a planter pot, made into an ornament, or made into smaller ones to make earrings. The possibilites are endless.
If you have never worked with polymer clay before, now is a great time to start. This is a very simple project, that anyone can do. The wings may look complicated, but when you read the step by step instructions you will see how easy they are made. Using translucent color polymer clay gives the wings a lacy effect.
Be sure to read my Polymer Clay Tips and Techniques article before beginning, if you are a beginner with polymer clay.
Materials Needed:
- Three colors of polymer clay, the amount depends on the size of the dragonfly you would like to make. A small marble sized ball of clay makes a two inch dragonfly. The colors are up to you. I chose purple for the dragonfly body, black for the accents, and translucent/peach clay for the wings.
- Pasta machine or a rolling pin (or similar tool) to flatten your clay.
- Cane blade or razor blade for slicing the canes
- 2 black seed beads for the eyes
- tacky glue
- oven
- glitter spray or clear adhesive spray for sealing (optional)
Polymer Clay Dragonfly Instructions
1. Begin the polymer
clay dragonfly by conditioning a small amount of
the three colors of clay. When the clay is conditioned, we will start
making the body.
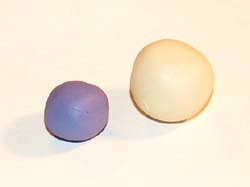
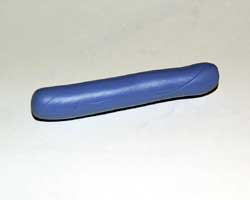
2. Roll the clay you choose for the body, into a
log, then using the
blade cut the log into sections that get smaller and smaller.
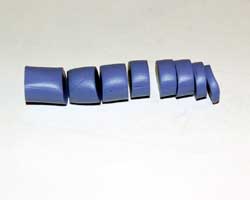
3. Take each little section of clay and roll it into a ball. Assemble
the balls, for large to small, in a line to form the dragonfly body.
Gently push them together so they adhere to one another. Set this
aside.
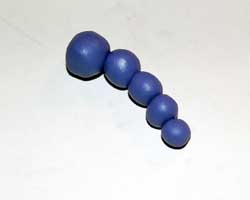
4. To make the wings, a cane is needed. If you don't know what a cane is, you will see the basic technique here. If you would like to learn about some other cane designs please see my Polymer Clay Easter Egg project , which talks about canework in detail.
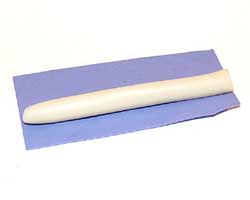
Begin by rolling the translucent clay into a log. Next, flatten a ball of contrasting color (I used purple, the same color as the body) in a pasta machine or use a brayer or similar rolling pin tool. Wrap the purple clay layer around transluent log. This is the beginning of your cane. Next, roll the cane back and forth between the work surface and the palm of your hand to compress it nicely. Then, take a slice from the end with the blade. The cross section of your cane should look like the one below.
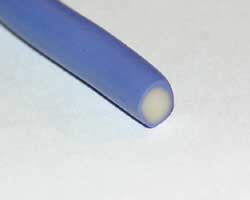
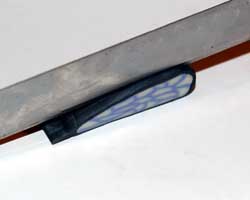
5. Flatten your cane lengthwise, just on one end to form a teardrop shape. Then cut small 3 mM sections from your cane log with your blade.
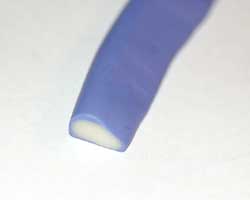
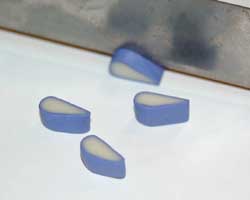
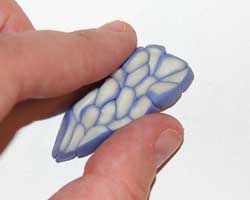
6. Assemble these little teardrops into a wing shape, as shown below. Then, take the wing and compress it with your fingers, pressing it together to make it thicker for slicing, and smaller in size.

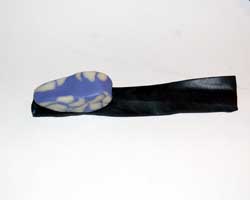
7. Flatten a small ball of black clay in a pasta machine, or use a brayer to roll it flat. Wrap the black clay around the wing cane and compress. Then, slice off four cross sections of the cane for the wings, and assemble them into the shape below.
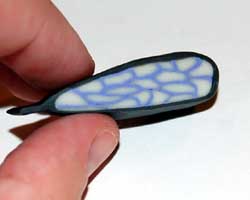
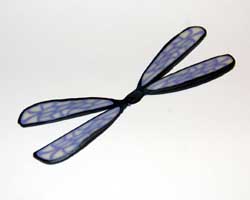
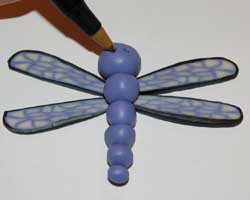
8. Add on the dragonfly body to the
center, pushing gently to attach
the body to the wings. Using a pencil, pen, or other similar tool make
two holes for the eyes, big enough for a seed bead to fit into.
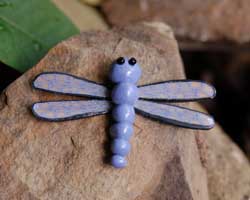
10. Bake the polymer clay dragonfly in the oven following the clay manufacturer's instructions (usually 270 degrees F for 20 minutes or so). Allow the dragonfly to cool completely. If desired, give the dragonfly a coat of glitter spray paint for extra sparkle (as I did) or use a clear sealing spray. When it is dry, use some tacky glue to attach the black seed beads into the eye holes. When your dragonfly is dry, it can be turned into a pin or magnet by gluing on the appropriate backing.
Would you consider a small donation?
You will receive my craft ebook as a thank you!
Every little bit helps! If you are enjoying this site, would you consider making a small donation? I use the extra money to help with the cost of craft supplies! With any $5.00 donation or more, you will receive my 650 page ebook full of 178 craft tutorials from this site. Thank you for your consideration!
Click here to learn more about the book, and to make a donation.
