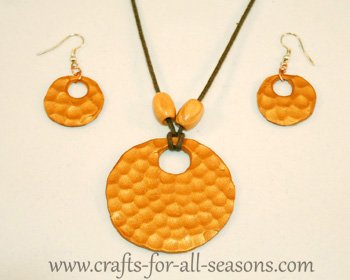
Polymer Clay Jewelry
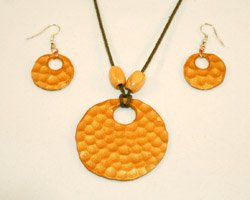
This polymer clay jewelry set is a very easy beginner project, whether you are new to polymer clay, new to jewelry making, or both.
Just follow the step by step instructions and you will have a pretty set of jewelry to give away as a gift, or keep for yourself! When you get compliments on your jewelry it is so nice to answer "Thank you, I made it myself"!
If you have never worked with polymer clay before, you may want to read my Tips and Techniques article first, which will give you some helpful pointers.
Materials Needed:
- Approximately 0.5 oz. of polymer clay in your color of choice. The metallic or shimmery colors look best. I used Fimo Soft in Gold.
- Brayer, small rolling pin, or a pasta machine to flatten the clay
- Pencil
- Cutting tool for the clay, such as an exacto knife
- Cookie sheet and oven to cook the clay
- Cord for the necklace
- Four jump rings (jump rings are tiny metal circles, found in the jewelry finding section of your local craft store. They are sold in multiples and come in a tiny bag).
- Two fish hook earring findings
- Jewelry pliers
Polymer Clay Jewelry Instructions:
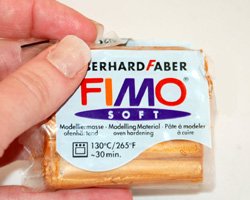
1. Begin the polymer clay jewelry set by conditioning your
polymer clay by kneading it between your hands until it is warm and
soft, and holds together well without crumbling. Below is a photo of
the type and color of polymer clay I used for this project.
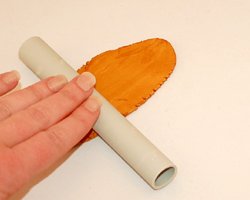
2. Flatten the clay with a brayer or small rolling pin. Or, if you use a pasta machine, run the clay through at the largest setting. The clay should be about 3 mm thick.
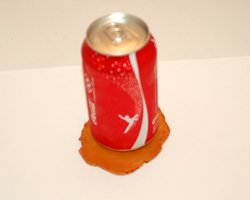
3. Look around the house for an object to serve as a circle template
for the necklace pendant, such as a small glass. I used the bottom of
pop can. Place the object on the clay to make a circle impression, or
trace around the object to make the impression.
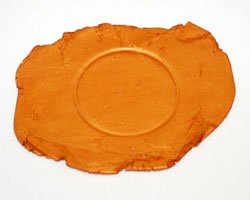
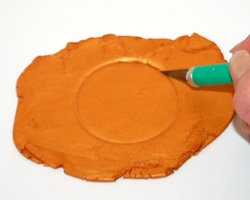
4. Using the exacto knife or cutting tool, cut the circle out.
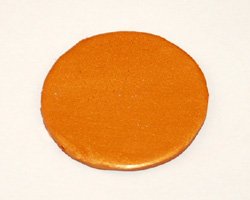
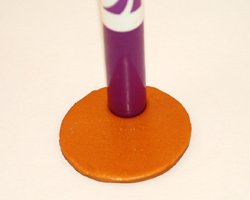
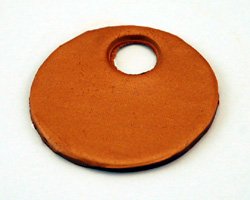
5. Find a smaller circle template to make the smaller hole in the
pendant. I used the end a broad marker with the cap on. A plastic soda
bottle cap also works well.
* Spotting on rubbing alcohol alone (try the end of your paintbrush, and just try a tiny amount) creates white spots! The colored ink will run away from the alcohol, creating amazing effects.
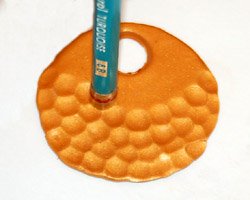
6. To add some dimension to the pendant, use the blunt end of a pencil
to push little circles all over the pendant. Overlap the circles
slightly as shown. This works best if you begin near the bottom of the
circle and then work your way up.
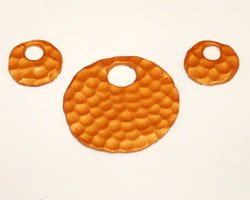
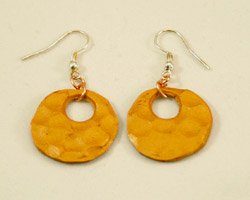
7. To make earrings, do the exact same thing but find smaller circle
templates. I used a plastic soda bottle top as the outside template,
and the end of pencil for the inner circle. When you are cutting out
the inner circles in the earring, put it close to the edge. This is
because you will need to get a jump ring around the inner circle and
the outer edge.
8. Following the manufacturer's instructions on the clay, bake the clay
pieces in the oven for the specified amount of time and allow them to
cool completely.
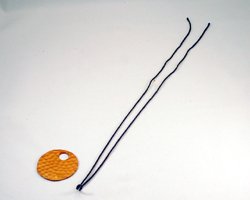
9. Once cool, you can add a cord to the necklace. To loop the cord
around the pendant, fold the cord in half. Thread the middle of the
cord (where the fold is) through the circle of the pendant. Bring the
loop up and spread the loop apart. Thread the long loose ends of the
cord through this opening in the loop. Then tighten the knot. Use the
pictures below for help. To wear my necklace, I usually just tie the
ends of the cord around my neck. This way I can change the length
depending on what I'm wearing. If you want a more finished and polished
look, simply add jewelry end clasps to the ends of the cord.
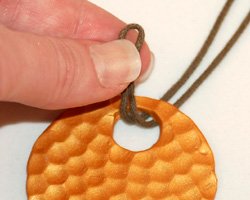
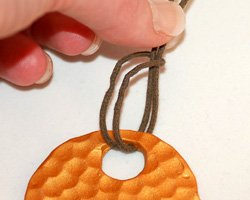
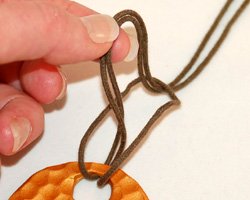

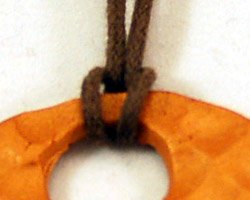
10. To finish the earrings, use the jewelry pliers to open each jump
loop a bit. Once open, you can thread the jump ring on to the earring.
Add another jump ring to the first one, then follow up by adding the
fish hook earring.
11. You can add a protective glaze to the pieces if you like, or add
some of the shimmer powders that are available to beautify polymer
clay.
Would you consider a small donation?
You will receive my craft ebook as a thank you!
Every little bit helps! If you are enjoying this site, would you consider making a small donation? I use the extra money to help with the cost of craft supplies! With any $5.00 donation or more, you will receive my 650 page ebook full of 178 craft tutorials from this site. Thank you for your consideration!
Click here to learn more about the book, and to make a donation.
Home › Polymer Clay Crafts › Polymer Clay Jewelry
Home › Mother's Day Crafts › Polymer Clay Jewelry
Home › All Occasion Crafts › Polymer Clay Jewelry
Home › Crafts for Adults › Polymer Clay Jewelry
Home › Crafts for Teens › Polymer Clay Jewelry
