Polymer Clay Owl
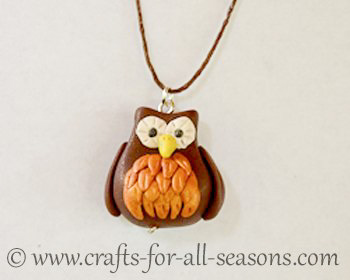
This little polymer clay owl is easy to make with these step by step instructions.
If you haven't worked with polymer clay before, it is really fun and there is so much you can make with it. My children, ages 5 and 9, also made these polymer clay owls right along side me. If you would like to learn more tips about working with polymer clay, please visit my Working with Polymer Clay article.
I decided to make this little owl into a pendant, so you can add on a chain or cording of your choice. I made another owl slightly bigger and baked him on a toothpick, and have him sitting in my potted plant right on my kitchen window sill above my sink. I love seeing him peer out at me!
Materials Needed:
- Brown polymer clay (or any color you choose for the owl's body)
- Gold polymer clay (or light brown, for the breast feathers)
- pinch of white polymer clay (for the eyes)
- pinch of yellow polymer clay (for the beak)
- pinch of black polymer clay (for the eyes)
- pin (for creating texture)
- oven for baking the clay
Things Needed to turn the Owl into a Pendant:
- eye pin
- jump ring
- cord or chain for hanging
- jewelry wire cutters and pliers
Polymer Clay Owl Instructions:
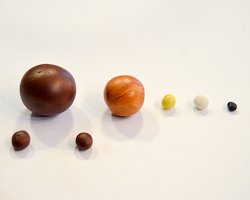
1. Begin by conditioning all the polymer clay you will be
using. This is a tiny owl, so you will not need much clay.
You will need about a 3/4 inch ball of clay for the owl's
body. From this main color (I chose brown) pinch off two
pieces to create two smaller balls the same size. These will
be the wings of the owl. Pick a secondary color for the owl's
feathers on its breast. You will only need a pinch of white,
yellow, and black. Take a look at the size of the polymer
clay balls below for reference. (I ended up having way too much gold
clay, you will not need as much as shown here).
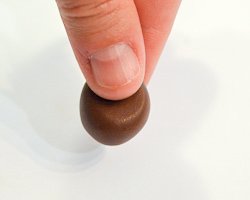
2. Take the ball
of brown clay, and pinch the top of the ball to flatten it just
slightly.
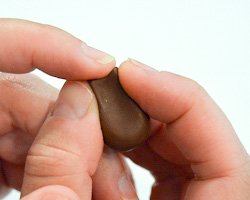
3. Put your two fingers along either side of the flattened area, holding it in place, while you squish down the top of the flattened ball with your finger. You are created the owl's head. Use the pictures below as a guideline.
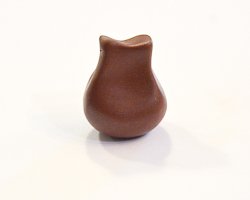
4. To create the
wings: Take the two small brown clay balls and roll them into
a little log. Flatten them just slightly with your finger,
then add them to the side of the owl to become the wings, as shown.
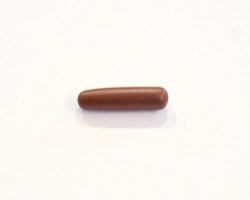
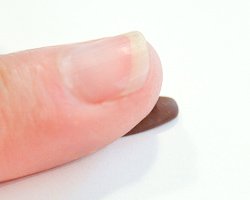
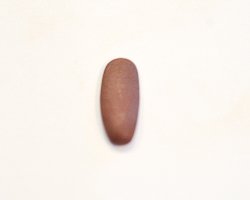
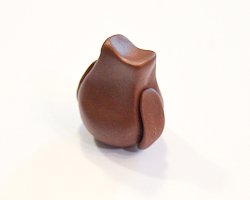
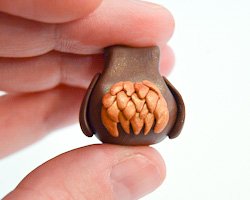
5. To create the breast feathers: Begin pinching off tiny pieces of
gold clay. Roll these tiny pieces in a log, then press it down with the
pad of your finger, until you create a little feather shape, as shown.
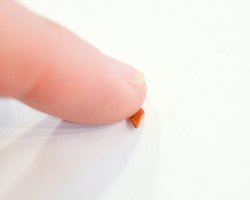
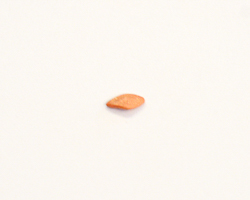
6. Beginning at the bottom layer, begin to add on the little feathers to the breast area, one by one. Have each row slightly overlap each other, as shown.
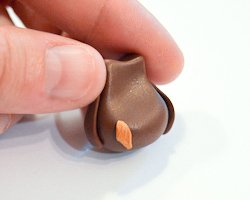
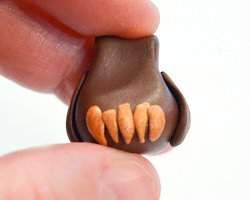
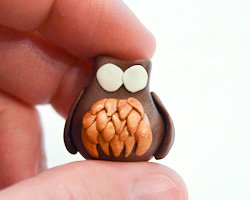
7. Next, flatten
two tiny balls of white clay to form two circles, of equal size.
Apply them to the face to become the eyes.
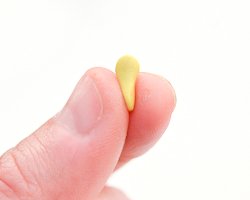
8. Make a little
beak by rolling a small tube of yellow clay and pinching the end to
make it sharp. You want to create a little triangle shape. Add the
little beak right below the eyes.
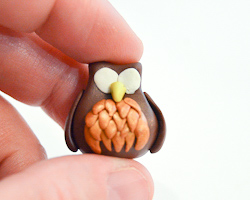
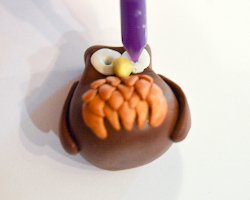
9. Using a pin, or the end of a sharpened pencil, make two holes in the center of the eye whites (Here I am using a polymer clay tool that has a pointed end).
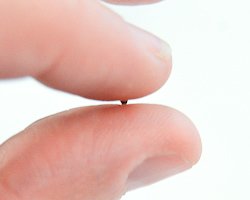
10. Roll two very tiny specks of black clay between your fingers, to
become the beady little eyes. See how small the ball of clay is? You
can barely see it between my fingers. Carefully pop these little bead
eyes into the holes you just created in the white eyes. Now,
use a pin to add some texture to your owl. Here you can see
I'm using the end of the pin to create little lines on the whites of
the eyes.
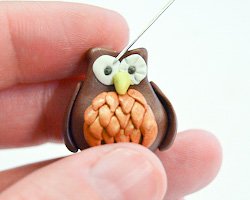
11. I also used the pin to add a line to each breast feather, two holes in the beak, and some lines of the wings.
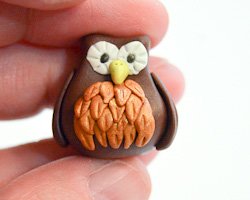
12. To make this
little owl into a pendant, you will need an eye pin that is a little longer than your owl.
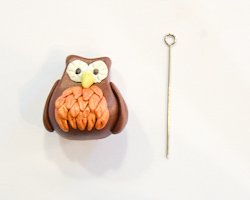
13. Pierce the
eye pin right through the top of the owl's head and push it all the way
through, until the top loop is flush with the head. Bake the
polymer clay owl in the oven according to the polymer clay package
instructions, and allow to cool.
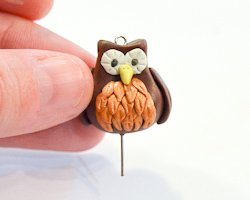
14. Clip off the
excess pin coming out the bottom of the owl with jewelry wire cutters,
and bend the remaining wire flush against the owl's body.
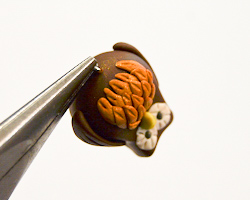
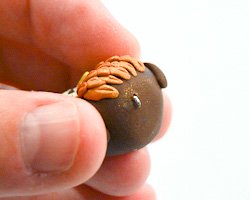
15. You can now coat the polymer clay owl with a protective acrylic spray if you like. Add on a jump ring and a chain or cord of your choosing and your polymer clay pendant is ready to wear!
Would you consider a small donation?
You will receive my craft ebook as a thank you!
Every little bit helps! If you are enjoying this site, would you consider making a small donation? I use the extra money to help with the cost of craft supplies! With any $5.00 donation or more, you will receive my 650 page ebook full of 178 craft tutorials from this site. Thank you for your consideration!
Click here to learn more about the book, and to make a donation.
Home › Polymer Clay Crafts › Polymer Clay Owl
Home › All Occasion Crafts › Polymer Clay Owl
Home › Crafts for Adults › Polymer Clay Owl
Home › Crafts for Teens › Polymer Clay Owl


