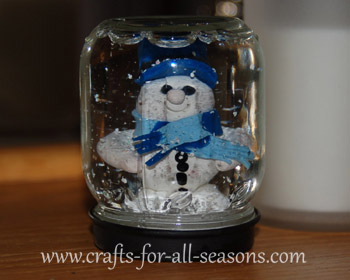
Snow Globe
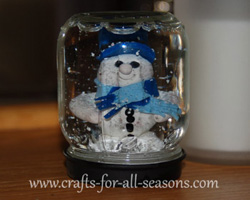
A snow globe is not hard to make, and this tutorial will show you how to make one with a polymer clay snowman inside.
The winter months can be a little dull, and I am always looking for new ideas to keep my daughter busy while being cooped up indoors. One fun thing to do with children is to have them make these cute decorations.
Anything at all can be made for inside the snow globe, since it will be crafted out of polymer clay! Think of wintery things, like penguins, polar bears, cardinals, ice-skaters, igloos, etc! These globes can be made around Christmas-time too, so Santa or reindeer are great choices.
Below I made a one with a snowman, and I have the step by step directions on how to make the snowman out of polymer clay.
Materials Needed:
- Empty baby food jar and lid, with label removed.
- Polymer Clay (in whatever colors you need)
- White paint
- Strong glue (I used a hot glue gun)
- Glitter or other sparkles to add to the globe to act as “snow”
- Glycerine (sold in drug stores), optional
- Rubber cement
- Water
Snow Globe Instructions
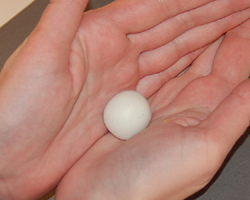
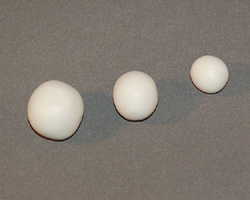
1. Begin your snow globe by kneading and conditioning the white polymer clay. Once it is warmed up and easy to work with, roll three balls for the snowman, in decreasing sizes. The size of the balls depends on the height of the jar you are using. Make sure the snowman will fit inside!
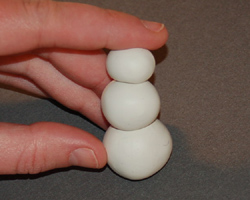
2. Assemble the balls together to make a snowman. Check to make sure the figure is still small enough to fit in the snow globe by placing the jar over the snowman. If he’s too big, then make the balls slightly smaller.
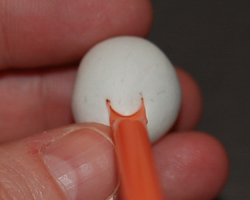
3. Make a mouth by using a drinking straw that has its end cut in half lengthwise about an inch in. This is a perfect small smiley face. Just poke the straw into the clay, and presto! You have a smiling mouth.
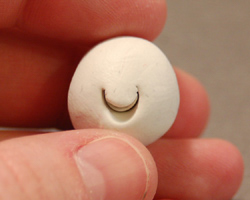
4. Use a toothpick to poke two holes for where his eyes will go. You can twist the toothpick around in the hole to make it bigger.
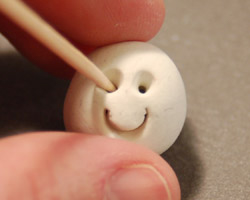
5. Make two tiny black balls for the eyes and push them in the holes. A toothpick may help for picking up the tiny eyes.
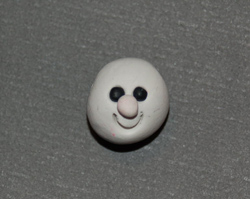
6. Make the nose from a small ball of white (or color of your choice) clay, and press it on. Next, place the head on the body.
7. To make his arms, roll a large white ball. Then, roll this ball in between your hands, back and forth, to make a thick rope with rounded ends. Cut this rope in half with a blade, and attach each arm to the back of the snowman.
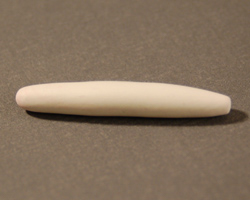
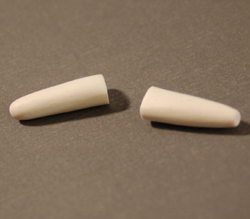
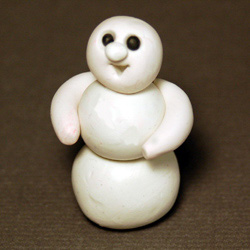
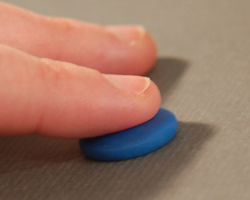
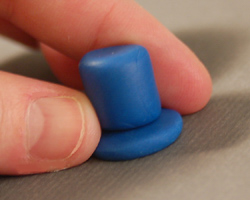
8. For the hat, begin by making a ball. Then, roll the ball between your palms back and forth until it becomes flatter on the sides, like a cylinder. You can then take a razor blade and cut off the ends to make a perfect cyclinder. For the brim of the hat, begin with a ball and flatten it to a flat circle between your hands. Then you can press the cylinder onto the flat circle, and push the hat on the snowman’s head.
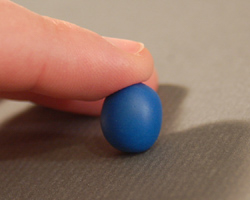
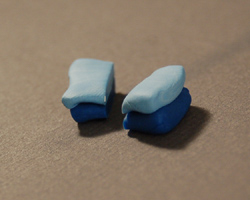
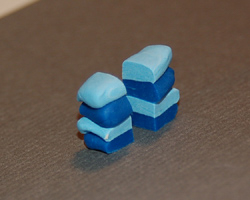
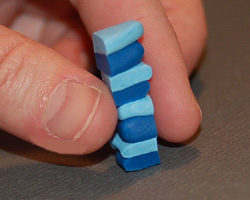
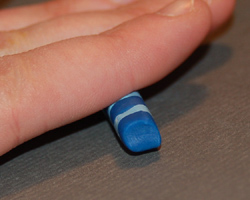
9. For the scarf, I chose to make a striped one. To do this, you need to sandwich a few different colored layers of clay together as shown, then roll it into a log. Use a tool (brayer, rolling pin) or your hands, to press the log down flat. You can use a razor blade to cut long straight sides to the scarf. To make the frayed ends, take a razor blade and make tiny cuts, as shown. Then wrap the scarf around the snowman.
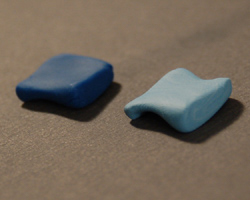
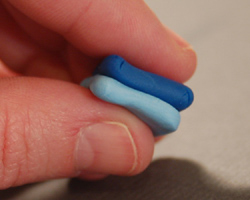
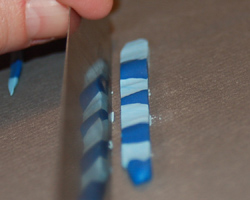
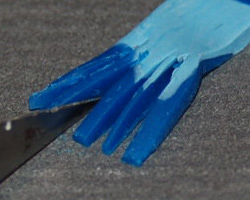
10. To make the buttons, I pushed black seed beads into the middle ball. Or, you can make tiny black balls out of polymer clay.
11. When the snowman is done, bake him according the manufacturer’s directions. Allow him to cool. I always spray my polymer clay pieces with a clear sealing coat, or brush on a clear lacquer, but this step is optional.
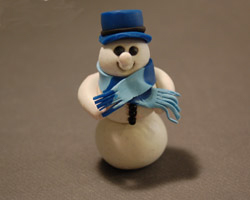
12. When the snowman is dry, use a hot glue gun (or another strong glue) to attach him to the bottom of the baby food jar.
13. Add water to the jar until 2/3 full. Then, add a little bit of glycerin (about 10 drops to start). The more you add, the "thicker" the water will be. This will make the glitter swirl longer. This step is optional. Then, add in glitter, tiny silver snowflakes, or fake snow to the jar to look like the snow.
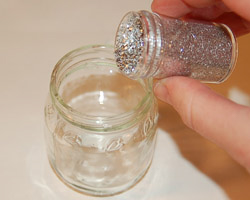
14. Glue around the lid of the baby food jar, and while it is still wet, screw on the jar lid tightly. Do this over the sink. Some of the water/glycerin mixture may get displaced and spill out, but that is OK. That ensures you have filled it up as far as you can go.
15. Wipe off the outside and the snow globe is done! These look really cute when you make a few and display them in groupings!
Would you consider a small donation?
You will receive my craft ebook as a thank you!
Every little bit helps! If you are enjoying this site, would you consider making a small donation? I use the extra money to help with the cost of craft supplies! With any $5.00 donation or more, you will receive my 650 page ebook full of 178 craft tutorials from this site. Thank you for your consideration!
Click here to learn more about the book, and to make a donation.
Home › Winter Crafts › Snow Globe
Home › Polymer Clay Crafts › Snow Globe
Home › Crafts for School Age Kids › Snow Globe
Home › Crafts for Teens › Snow Globe
