Spider Nest Craft
This spider nest craft is a creepy addition to your Halloween decor.
It is no surprise that many people have a fear of spiders. Making this nest much larger than actual size really will creep out the trick or treaters!
These look great hanging outside from a tree, or by your door, surrounded by spider webs.
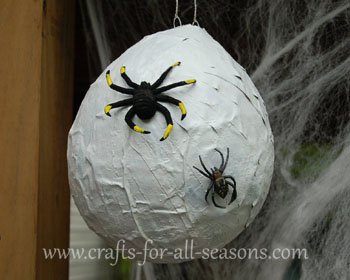
Attach a few plastic spiders, or a large spider craft you make yourself, and you have a nest that all your guests will want to avoid!
Materials Needed:
- balloon
- newspapers
- flour, water, and a mixing bowl
- string
- strong bendable wire (I used 22 gauge craft wire)
- needle
- white spray paint
- strong glue
- artificial spider(s)
Instructions for Spider Nest Craft
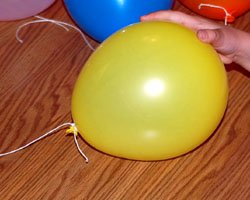
1. You will be making a paper mache mixture which can get a bit messy. Cover your work surface with newspapers before beginning. Decide where you would like the spider nest to dry (it will take a few days), and get that area ready. If you do it indoors, protect the floor beneath where the spider nest will hang in case there is dripping. Tie a length of string to allow the nest to dry on (like a clothesline). Begin by blowing up and tying one balloon. Then, tie a length of string to the balloon. This string is just used to tie the balloon to the clothesline and later it will be cut off..
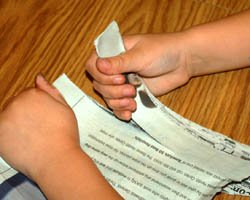
2. Prepare your newspaper strips in advance. Simply tear about 1 inch wide strips of newspaper and put them all in a big pile. Do not make them too long, as it will be hard to wrap them around the balloon if they are too long.

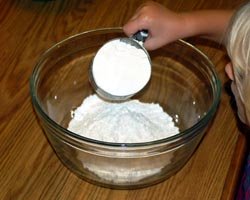
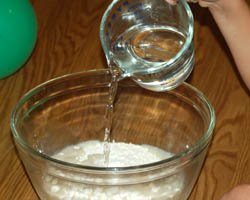
3. Prepare the paper mache mixture. Mix 2 cups of flour to 2 cups of water and mix until it is smooth.
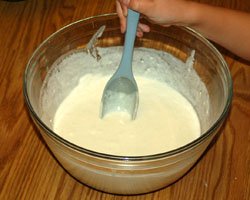
4. Dip a newspaper strip into the paper mache mixture until it is completely soaked, and then run your fingers over it to remove excess paper mache. Then, wrap the strip of paper around the balloon. Protect your work surface with newspapers. This is a messy job and the table you are working on will get messy, but usually it will wipe up easily later on with a soapy sponge. Cover the entire balloon with newspaper strips, overlapping then when necessary, so you cannot see any of the balloon. You can leave the stem pointing through. The goal is to cover the balloon with three complete layers of newspaper strips. I found the easy way to keep track of the layers is as follows: The first layer is easy; you will know you are done when you cannot see anymore of the balloon. For the second layer, add dry newspaper strips on top of the already wet strips to help keep track. For the last layers, layer on wet gooey strips once again.
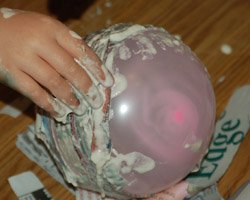
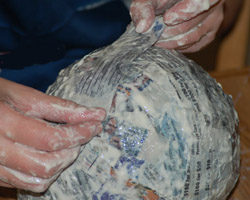
5. When you are finished, use the length of string you tied to each balloon and tie it to the clothesline you prepared. Allow the spider nest craft to dry completely. This may take 2 to 3 days. When it is dry, remove them from the clothesline and cut off the balloon stem. The balloon will slowly peel away from the sides so it can be removed.
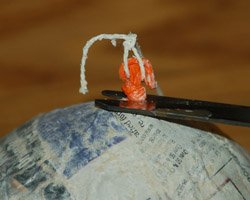
6. Using a needle or another peircing tool, make a small hole on either side of the large hole at the top.
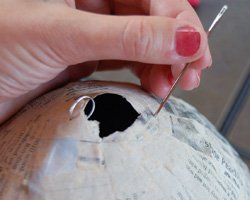
7. Bend the end of a strong piece of wire and thread it through the hole.
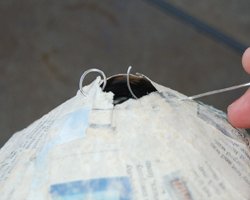
8. Using wire cutters and pliers, cut off the wire and create a large jump loop. Repeat this for the other side.
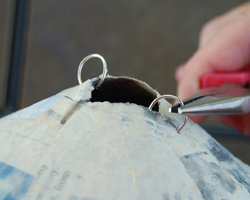
9. You now have two loops that you can thread the string through for easy hanging.
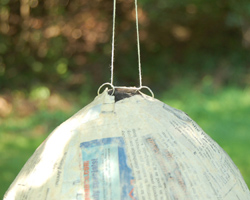
10. Hang the spider nest outside and give it a few coats of white spray paint, allowing it to dry in between coats.
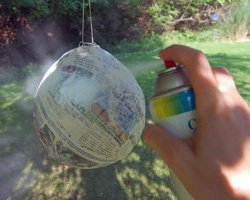
11. Glue on a few spiders with strong glue. This spider nest craft looks best when it is hung among artificial spider webs, near a corner of the house or from a tree.
Would you consider a small donation?
You will receive my craft ebook as a thank you!
Every little bit helps! If you are enjoying this site, would you consider making a small donation? I use the extra money to help with the cost of craft supplies! With any $5.00 donation or more, you will receive my 650 page ebook full of 178 craft tutorials from this site. Thank you for your consideration!
Click here to learn more about the book, and to make a donation.
Home › Halloween Crafts › Spider Nest Craft
Home › Crafts for School Age Kids › Spider Nest Craft
Home › Crafts for Teens › Spider Nest Craft
Home › Crafts for Adults › Spider Nest Craft


