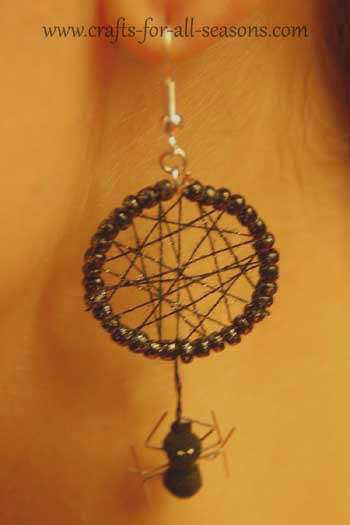
Spider Web Earrings
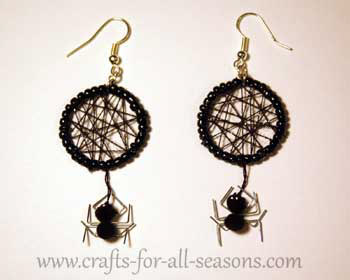
These spider web earrings are a creepy and unique addition to any Halloween outfit.
They are perfect to wear for yourself, or to give away as a gift.
The project is easy to put together, but be forewarned that it can be a little difficult putting the little spider together. It is so small that it takes some dexterity in your hands to glue it together. I used some tweezers to move his parts around and did just fine.
These Halloween earrings look even better in person, they shimmer and are quite eerie. You will get plenty of comments on these... wait until you tell people you made them yourself!
Materials Needed:
- Two wine charm rings - (These are sold in craft stores, usually by the jewelry and bead section. They are sold usually in a four pack and are meant to be used to make your own wine charms. If you can't find them, you can use any wire loop, or make your own by bending wire)
- Black seed beads
- Black embroidery floss or strong black thread
- Glitter spray paint (optional)
- 2 jewelry jump rings (little loops sold in the jewelry section of your craft store)
- 2 French hook earring findings
- 4 small black pom poms (I used the 5 mM size)
- 8 regular staples (yes, from your stapler, these will be the spiders legs!)
- Tiny piece of black card stock
- White paint and pin or toothpick (to make the spider's eyes)
- White glue
- Scissors
- Needle
- Jewelry pliers and/or tweezers (optional, but they can help out)
- Wax paper or parchment paper
Instructions:
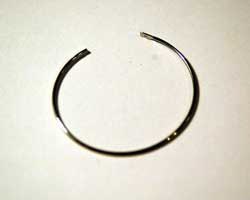
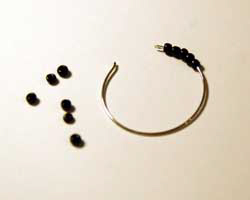
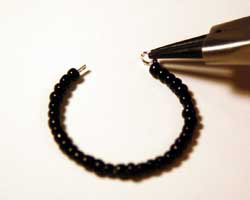
1. Begin the spider web earrings by
opening up the wine charm
rings. Thread on black seed beads all the way around the ring.
At the end, add on a jump ring. Then, close up the
wine charm ring. The charm rings I bought required you to
bend up the one end of the loop slightly with jewelry pliers and insert
it into a tiny hole on the other end to secure.
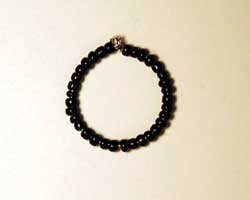
2. Next, cut off about one foot of embroidery floss and unravel it until you have single strands. Thread a single strand of black floss through your needle. Then, wrap this thread around the loop ring, in between two of the seed beads. Tie a knot to secure the thread, and cut off the excess as close as you can to the loop ring.
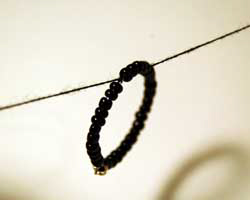
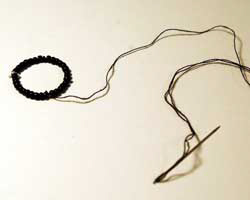
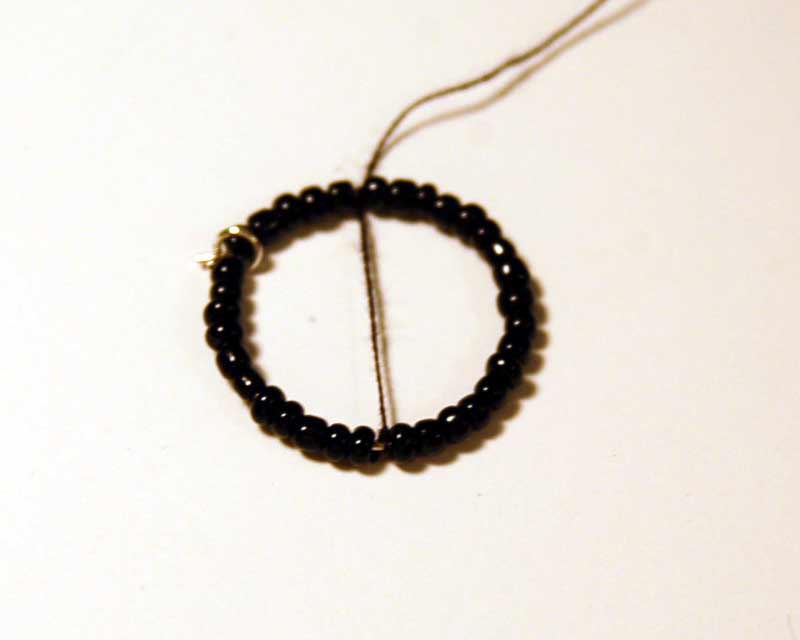
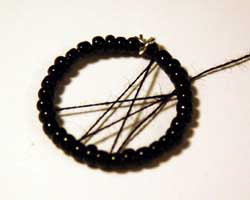
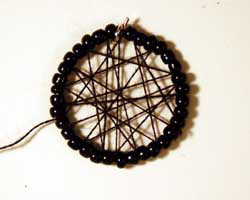
3. Begin to make the spider web by pulling the thread across the ring loop, in various patterns. Try not to always go directly across the middle, or the spider web will look too "perfect". When the thread reaches the other side, wrap it between the seed beads, and around once to secure. The seed beads keep the floss in place nicely. When you are finished threading, tie the the floss off in a knot between two seed beads, and cut off the excess and close as you can to the ring loop to make it look nice and neat
4.
The next step for the spider web earrings is optional, but I
really recommend it. Give the front and back of the spider
web loop earring a coat of silver glitter spray paint. Let it
dry between doing the front and back sides. It really gives
it some extra sparkle!
5. Now to finish off the spider web earrings you need to make
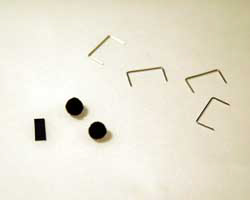
the spider. First, gather up your parts. The two pom poms
will be the spider's body. Cut a tiny piece of black card
stock in a small rectangle. You can see the small rectangle in the
photo below, to the far left. You don't want the length to be
any longer than the width of the two pom pom's side by side (in my
case, slightly smaller than 1 cm). The card stock's purpose
is to be the base of the spider to glue the parts to, but you don't
want to see it in the final product. Then, using your tweezers or
jewelry pliers, pry off four staples from a length of standard staples
you would load into your desk stapler. These will be the legs.
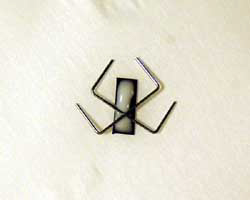
6. Make your spider on top of a sheet of wax paper or parchment paper, so it the glue oozes, you can carefully peel him off safely. Begin by adding a drop of glue to the card stock. You may want to use tweezers here to hold down the tiny card stock so it doesn't stick to your glue tip! Then, glue on two staples across this card stock, in an "x" pattern, as shown below. Use your tweezers to help place the staples.
7.
Add another drop of glue on top of the staples, where they
meet at an "x". Then, place another two staples on top of the previous
two. Follow the photos below for help.
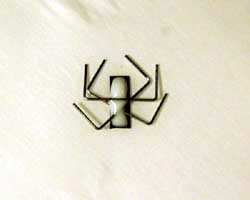
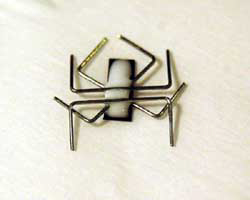
8. Add another drop of glue on top of all the staples, and then place the two black pom poms on top of everything to be the spider's body. Use your tweezers for help. Allow this to dry very well. When dry, you can use the head of a pin or a toothpick, dipped in some white paint, to add two tiny eyes, if desired.
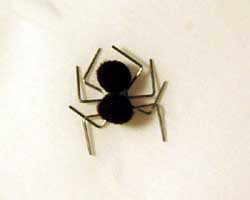
9. When you are sure the spider is nice and dry, thread your needle with another length of one ply black embroidery floss. At the top of the spider's head, insert your needle through the head width wise. Try to get deep enough in the pom pom so the thread will be secure and will not pull out. Then pull your thread through, and make a knot. Cut off the trailing end of the floss as close as possible to the spider's head.
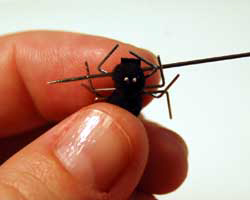
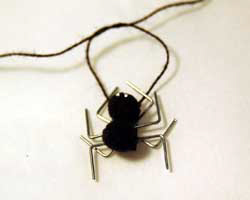
10. To attach the spider to the spider web earrings, wrap the floss around the bottom of the loop, in between two seed beads. Determine how far you want the spider to dangle from the loop and adjust the floss length as necessary (for my earrings the spider hangs 1 cm below the loop). Once the length is determined, secure this by wrapping the thread around the ring loop one more time (in between the seed beads again) to secure it well, then bring the thread back down towards the spider. As you bring the tread back down to the spider, wrap it around the floss a few times. This is done to make it look like only one thread holding the spider instead of two.
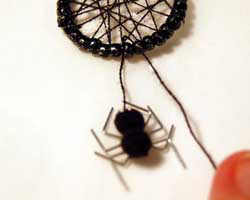
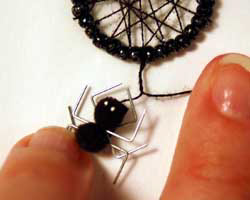
11. Finally, to secure to the spider, you want to thread your needle through the spider head once again. Then make a square knot and cut off any excess.
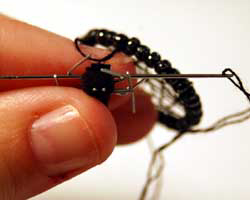
12. The spider web earrings are almost done! Add a second jump loop to the first jump loop, using some jewelry pliers or tweezers if necessary. Then add on the French hook earrings. Your spider web earrings are now ready to wear!
Photos from Others
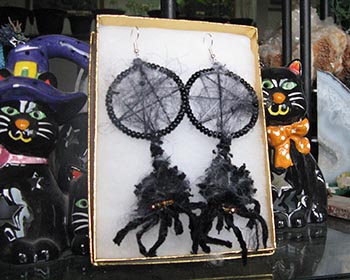
Spider Web Earrings
by Laurie Bowman
"I used your spider earrings idea to make a pair of my own. I used wool for the spiders and web, and added some beads for the eyes. Thanks for the wonderful idea."
Would you consider a small donation?
You will receive my craft ebook as a thank you!
Every little bit helps! If you are enjoying this site, would you consider making a small donation? I use the extra money to help with the cost of craft supplies! With any $5.00 donation or more, you will receive my 650 page ebook full of 178 craft tutorials from this site. Thank you for your consideration!
Click here to learn more about the book, and to make a donation.
