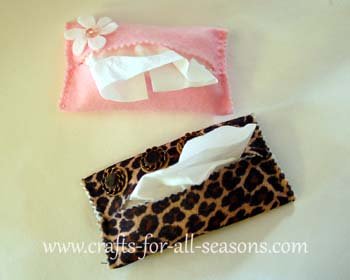
Tissue Holder
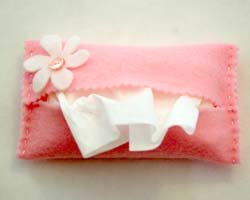
This tissue holder is made from a piece of felt - and decorated with buttons or a pretty flower.
It is meant to hold tissues in your purse or backpack. It will hold a travel size tissue pack or you can fold up tissues yourself to store inside of it.
This is an easy craft, but it does require some sewing. This makes it a good craft project for a child or adult who is just learning to sew.
This travel pack also makes a perfect Mother's Day gift or birthday gift. With all the different patterns of felt available, you can get really creative with the end result!
Materials Needed:
- A piece of felt
- Embroidery floss and needle
- Scrap pieces of felt and buttons for embellishments (optional)
- Pinking shears
Instructions for the Tissue Holder
1. Begin by cutting out a rectangle of felt to fit your travel size tissues, using pinking shears. A 6 X 7 inch rectangle works for the most common size of tissues, and is what I used for this project.
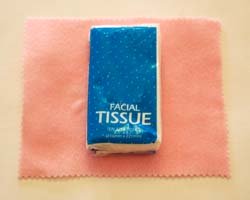
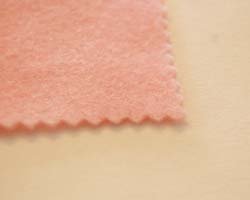
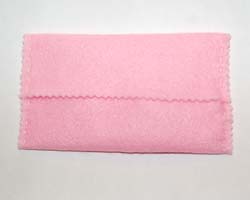
2. Fold each long edge of the felt over the tissue pack, as if you are wrapping a present. Make sure the felt fits and overlaps only slightly. If it overlaps too much, do some trimming. Then remove the tissues, and get ready to sew. Divide the embroidery floss to two or three threads in thickness, then begin to sew the short edges together. Be sure to hide the knot in the inside of the holder.
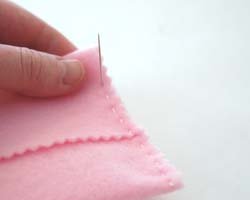
3. Sew a simple basting stitch, trying your best to keep all the stitches even. Sew along each short edge. There is no need to sew across the middle where the edges meet, because you need some room to put the tissues in.

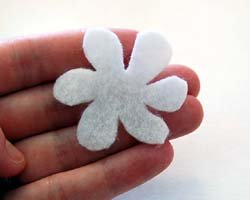
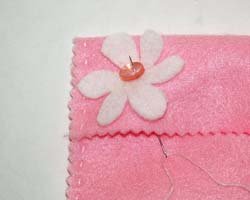
4. Next you can add on any felt embellishments you choose. Here I cut a flower shape out of a contrasting color of felt, added a button, and sewed it to the tissue holder. You may want to try embroidering a name on the felt.
Or Try This...
My sister Wendy made one of these tissue holders too - and I love the way she personalized this gift!
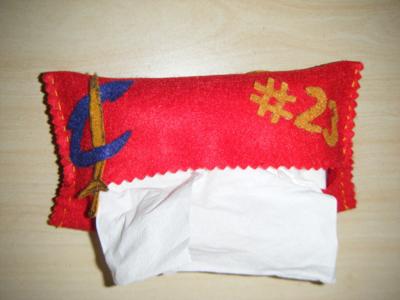
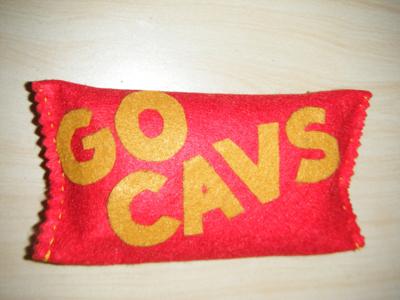
Cleveland Cavaliers Tissue Holder
by Wendy (Middleburg Hts, OH)
In her words:
"I made this for my daughter's teacher for Teacher Appreciation week. She really likes Lebron James and the Cavs, so I thought I'd try this craft out. It did take some time to cut out all the letters from felt, but it turned out nice!
One tip: I did use a hot glue gun to gently apply glue to the backs of the felt letters/embellishments. This is the only method, besides sewing, that would make the letters stick."
Great idea Wendy! If you made one of these, please submit your photo too!
Would you consider a small donation?
You will receive my craft ebook as a thank you!
Every little bit helps! If you are enjoying this site, would you consider making a small donation? I use the extra money to help with the cost of craft supplies! With any $5.00 donation or more, you will receive my 650 page ebook full of 178 craft tutorials from this site. Thank you for your consideration!
Click here to learn more about the book, and to make a donation.
Home › Mother's Day Crafts › Tissue Holder
Home › All Occasion Crafts › Tissue Holder
Home › Crafts for Adults › Tissue Holder
Home › Crafts for School Age Kids › Tissue Holder
