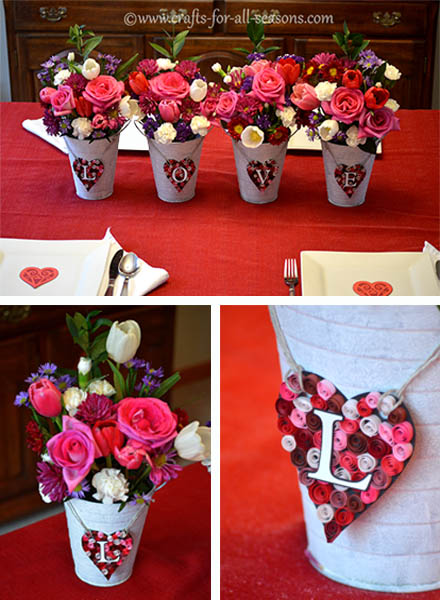
Valentine's Day Centerpiece
Beautiful blooms from ProFlowers
I love fresh flowers. Especially roses! So when ProFlowers asked me to join their challenge, to create a unique and beautiful Valentine's day centerpiece using their flowers, I jumped at the opportunity. They have such a wide selection of flowers, and they arrive so fresh and beautiful. Once the blooms are in water with their special flower food, they grow more beautiful every day as their buds start to open. I have come up with a fun DIY way to decorate your containers or vase for your fresh flowers. I also include in my tutorial the basics of making a floral arrangement, so even a beginner can create a beautiful flower arrangement.
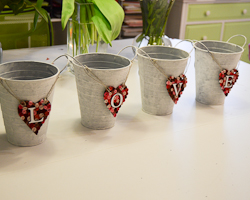
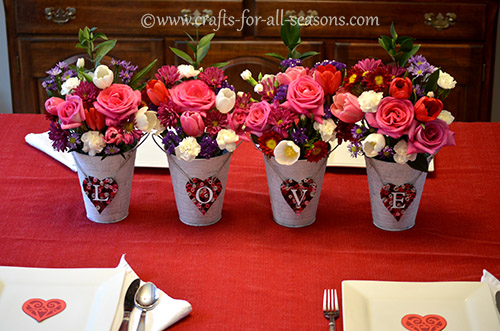
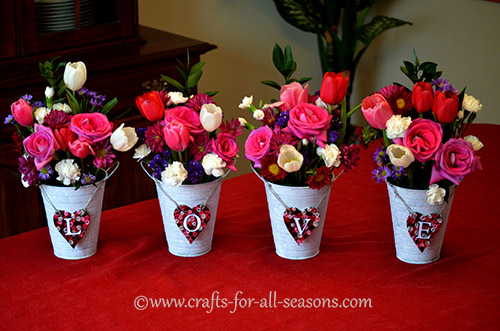
I used four little metal pails to create four small floral arrangements. Each pail is decorated with a letter, and together they spell LOVE. I like how they looked all lined up in a row, but keep in mind you can keep this to a single arrangement in one container too! Just have the heart tag spell the entire word "love" instead of just single letters.
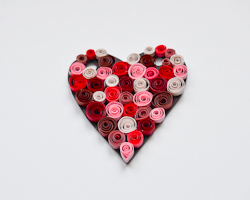
I created a heart tag which hangs from each pail. I decorated the heart by gluing on tiny quilled spirals. The letters were cut using my Cricut die-cutter, but you can use purchased chip board letters or letter stickers just as easily.
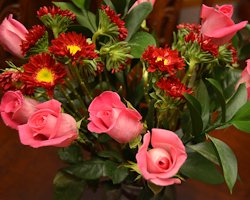
For these floral arrangements, I used roses, tulips, carnations, and mini asters and alstroemeria, all from ProFlowers.
Materials Needed:
- fresh flowers from ProFlowers
- wet floral foam
- knife
- 4 small metal pails (mine were manufactured from Darice)
- white acrylic paint
- small sponge, such as a cosmetic sponge
- black card stock
- heart stencil or template
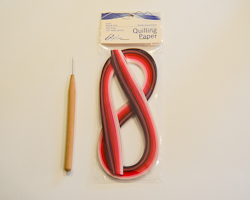
- quilling paper in hues of red and pink
- quilling tool
- pencil
- scissors and floral clippers
- glue
- hole punch
- twine or string
- letters that spell LOVE (I cut mine out using my Cricut)
Valentine's Day Centerpiece Instructions:
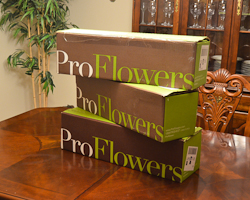
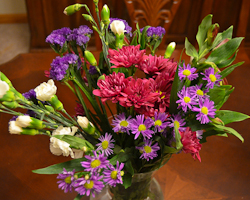
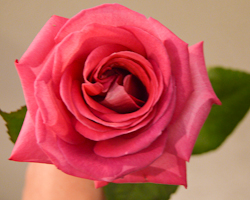
1. The perfect way to begin your Valentine's Day centerpiece is to pick out the flowers you want to order from ProFlowers. I ordered a bouquet which included roses, a tulip bouquet, and a mixed floral arrangement called "Shower of Flowers" to provide some fill in flowers. They arrive safely in boxes with instructions and plenty of flower food.
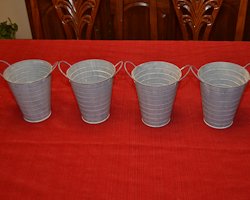
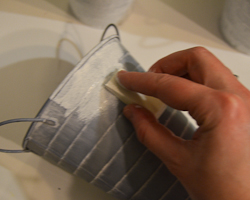
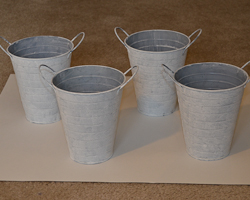
2. Pick out your containers next. I bought some metal decorative pails from my local craft store. I sponge painted them white with acrylic paint and a cosmetic sponge, and it gave me just the right about of shabby chic I was looking for. No matter what you use, make sure to fill your container with water before you get started, to make sure it is water tight. If it isn't, you can solve the problem by placing something waterproof inside of it. Think empty margarine tubs, water bottles, or even a ziploc bag. (Turns out my pails were not all water tight, so a word of caution).
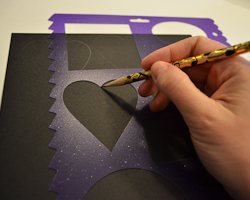
3. I chose to decorate each pail with a decorative tag and letter. To do so, I cut out four hearts from black card stock, using a stencil and scissors.
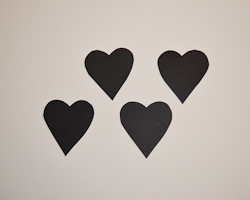
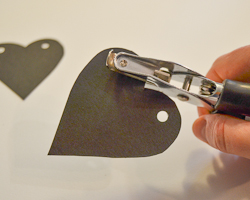
4. Next, I used a hole punch to make two holes near the top of each heart. This was used to wrap the twine around each heart and secure it to the pail handles.
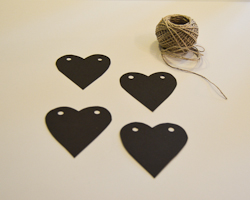
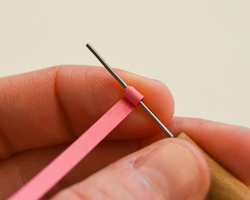
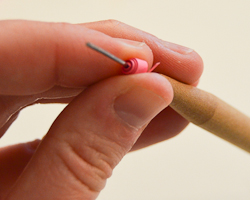
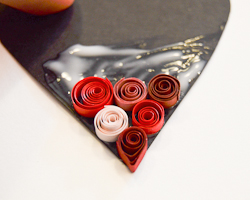
5. To decorate each heart, I filled them in with quilled swirls. I'm a fan of quilling, because I love the final product and the intricate look it gives. You will need a quilling tool and some quilling paper in pink and red hues. Then, start rolling up those paper strips! I cut each strip into four pieces to create equal sized swirls.
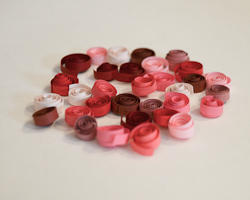
6. Next, start gluing those beautiful curls all over your hearts. I used regular white glue that dries clear, then pushed each swirl on to completely cover each heart (Note: I'm not going to lie, this quilling part takes a long time, but I think it's worth it).
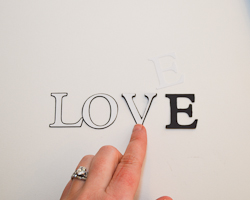
7. I added on letters that spelled LOVE. I cut these out using my Cricut on white card stock, with black card stock as a shadow, then glued them on the quilled heart. Keep in mind you can also use purchased die cut letters from chipboard or stickers.
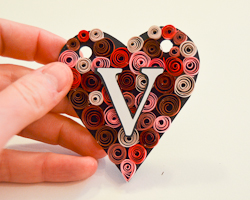
8. All that's left is to tie the letters on to the pail handles using some twine. But of course, there's more (ahem... the flowers of course!)
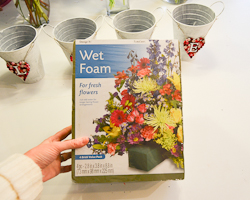
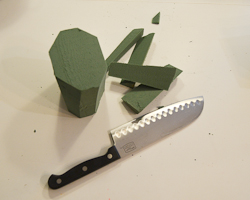
9. Now for the floral arrangements, the super fun part! The flowers from ProFlowers were so beautiful and I couldn't wait to get started with them. I purchased some wet floral foam, but keep in mind you can also arrange the flowers in a vase, skipping the floral foam. The key to arranging them is to get the heights and placement right. Follow along with my tips, as the same ideas apply when you are just arranging flowers in a vase. Hopefully you already checked if your container is water tight. If not, get something inside of it to hold the wet floral foam. Cut the floral foam in whatever shape you need to fit your container, using a knife. It is super easy (and kind of fun) to cut. The knife eases through almost like butter...
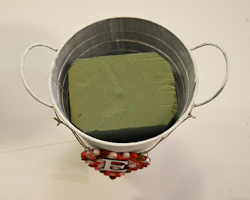
10. Next I wedged the foam into my pails, and filled it up with water to completely soak the foam.
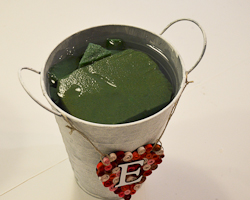
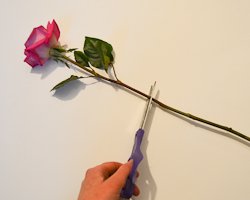
11. Floral arranging comes down to color balance, and the height of the flowers blending to give the floral arrangement a nice shape. Let's make this simple: Pick complementary colors that do not clash and harmonize well. For this arrangement, the colors go wells since they are just different hues of red (reds and pinks). Whites go with anything, and I added a bit of purple which is also a similar hue. Begin with the focal flower, or the most dominant flower. For my arrangements, that was the roses. Be sure to clip the stem to the proper length with sharp clippers and remove any greenery below the water line or where it will touch the floral foam. Then, place your focal flowers right in the middle. I put a secondary bloom off the to the side.
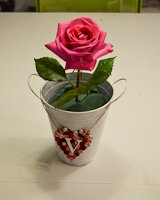
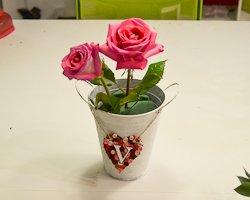
12. Continuing with the Valentine's day centerpiece using your next biggest flower, which in my case, were the tulips. I used three or four tulips per arrangement, and they were placed evenly around the roses. Be sure the height of the tulips are the same height or slightly lower that the center rose, especially near the front. It is alright to have the floral arrangement get a bit taller in the back if it is facing one way. You may have to play around with height and placement, but it is easy to do with that squishy wet floral foam.
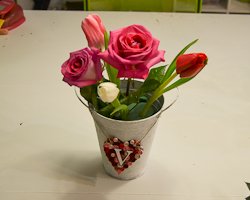
13. Next comes to the fill flowers. My next largest flowers were some white carnations, so I cut the stems and started placing them in the gaps of the other flowers. I used about four or five per arrangement.
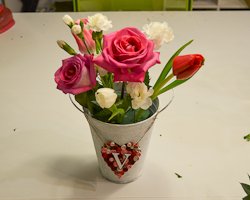
14. All the gaps can be filled in now with your tiniest fill flowers. Again, pay attention to clipping the stems to keep the heights the same as those around it. Your entire centerpiece should be nicely shaped. I had a variety of mini asters and alstroemeria, which did the job well. Baby's breath also is a great filler. I received some wonderful leaf greenery with my roses from ProFlowers, which I used in the back of each arrangement. Greenery in a floral arrangement really helps fill it out and gives it an organic, natural look.
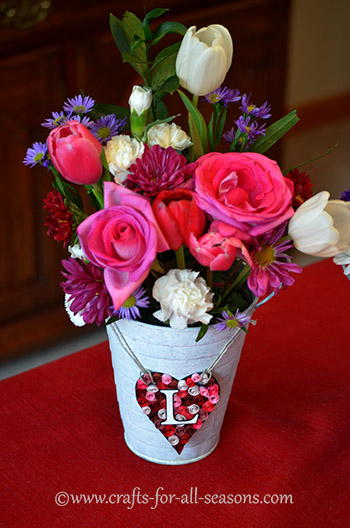
15. Here is the finished product! A special thank you to ProFlowers for the opportunity to join this creative challenge. I hope you have found some inspiration to make your own fresh flower centerpiece!
Would you consider a small donation?
You will receive my craft ebook as a thank you!
Every little bit helps! If you are enjoying this site, would you consider making a small donation? I use the extra money to help with the cost of craft supplies! With any $5.00 donation or more, you will receive my 650 page ebook full of 178 craft tutorials from this site. Thank you for your consideration!
Click here to learn more about the book, and to make a donation.
Home › Valentine's Day Crafts › Valentine's Day Centerpiece
