Wine Cork Board
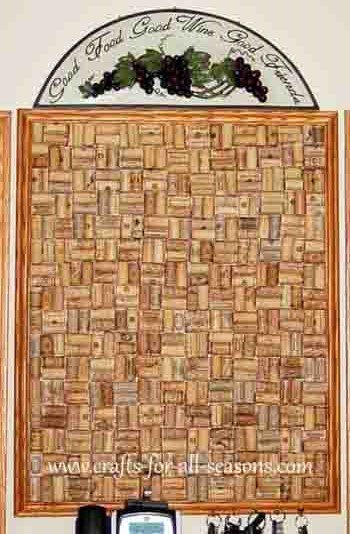
This wine cork board is a perfect craft to make if you father happens to be a wine lover!
These look great hanging in a kitchen, in his garage, or his workshop. It makes a wonderful Father's Day present!
It is extremely easy to make, but you will need a ton of wine corks, often more than you think you'll need. I kept thinking I had enough corks myself to finish this project but I had to get more corks from friends and family.
I get a lot of compliments and comments about my wine cork board, which is hanging in my kitchen. By far, the question I har the most is, "Did you drink all that wine?" Be prepared to hear this a lot if you make one!
If you have been saving your wine corks, this craft is for you!
Materials Needed:
- A wooden frame in the desired size. The glass is not needed, so look for a wooden frame that is meant to frame canvas paintings. These frames have a deeper thickness to them.
- A piece of wood for behind the frame, cut to the size of the frame
- Hammer and Nails
- Hot Glue Gun and Hot Glue Sticks
- Razor Blade
- Lots of wine corks!
Instructions for the Wine Cork Board:
1.
Begin the wine cork board by assembling the frame.
Hammer the board to the back of the frame so you have a good
base to glue the wine corks on to.
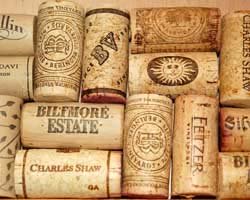
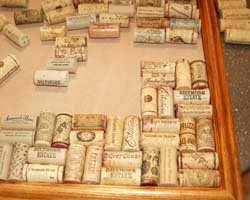
2. Begin in one corner, and assemble 8 corks in the pattern
shown below. You are free to try other patterns, but I have found this
block pattern really looks great. The wine corks look best
when the labels are facing out, and are easy to read (not upside down).
If you have too many of one brand (like I did), you can hide
some of the labels, by gluing the label side down, and just show a
blank cork now and then.
3. Once you are happy with the
arrangement and pattern, pick
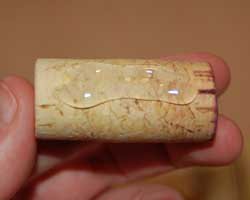
up each cork and apply a thick strip of hot glue to the back of it, and
adhere to the base. Hold for a moment then move on to the
next cork.
4. From time to time you may find that all the corks are not
the same size. In this case, a little trimming will be
necessary. Use a sharp razor blade and cut off the edge of
the longer cork to make it the right size. Be super careful not to hurt yourself!
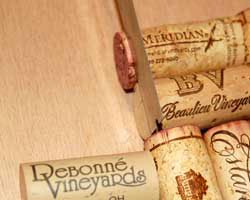
5. As you work your way
to the other edge of the frame, you
may not be able to fit a full cork in at the end, or complete the
pattern. Do the best you can. You can make "spacers" by
slicing corks in half lengthwise to make a tight fit, and it is hardly
noticeable in the end result.
6. The wine cork board can be used as a regular bulletin
board, just use push pins to hold up notes and photos!
Or You Could Try Something Like This:
Wine Cork Table
by Karen from Crafts For All Seasons
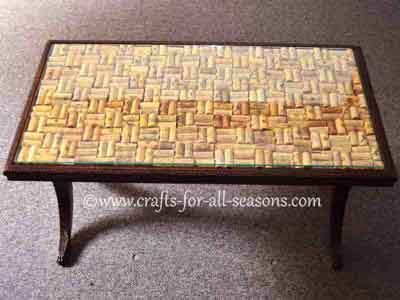
Here's a photo of my wine cork table. This was an old table where the top was slightly recessed. You could do the same thing by adding some wooden trim around the edges. Then, I followed the same instructions for the wine cork board but I cut each cork in half lengthwise and just hot glued the halves on. This way I didn't make the table too high. I then went to a glass store and got a pieces of glass cut to size and it rests on the corks. It doesn't even slip that much but you could also glue in down in the four corners.
Would you consider a small donation?
You will receive my craft ebook as a thank you!
Every little bit helps! If you are enjoying this site, would you consider making a small donation? I use the extra money to help with the cost of craft supplies! With any $5.00 donation or more, you will receive my 650 page ebook full of 178 craft tutorials from this site. Thank you for your consideration!
Click here to learn more about the book, and to make a donation.
