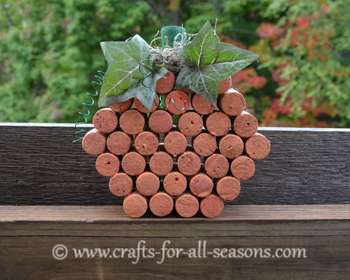
Wine Cork Pumpkin
A wine cork pumpkin can be made in 20 minutes! That's how long it took it took me from start to finish. With the help of a hot glue gun, this cork pumpkin goes together fast. And if you are anything like me, and have LOTS of wine corks saved, here's another project to use those corks in.
So, did I mention that I have a lot of wine corks? I can't throw them away. I've made plenty of projects with them, but while I'm waiting for my next crafty inspiration those corks find a home in my decorative vases I have in our dining room.
This little pumpkin craft stands at 8 inches tall... a modest height for a shelf decoration, but it is the result of 38 bottles of wine!! I find that even with the small projects you need a lot of corks, so I never throw them away.
The wine cork pumpkin looks great on a mantle or a shelf for Autumn. Want to see how easy it is to make? Read on!
Materials Needed for a Wine Cork Pumpkin:
- 38 wine corks (more or less, depending on the size pumpkin you want) hot glue gun and glue sticks
- Orange and green paints and paintbrush
- Artificial leaves for the stem
- Green wire for the curly vines
- Pencil
- Wire cutters
- Spanish moss
Wine Cork Pumpkin Instructions:
1. Begin by getting all your materials together. Gather up all your wine corks, pre-heat your hot glue gun, and have some paints handy.

2. Start gluing the corks together on the bottom layer, using your hot glue gun. Be careful! (hot glue gun burns are the worst). I started with four corks on the bottom layer, and I lined all my corks up so the wine stained end was facing front. Just a line of hot glue between the corks will hold them together well.
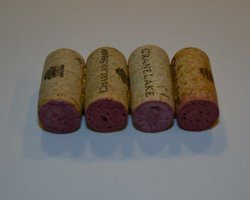
3. There's a trick to doing each layer, so do this in order. Glue on all the corks in the middle first (so start with three as shown). Just apply two lines of glue where the cork on top will be touching the others below it.
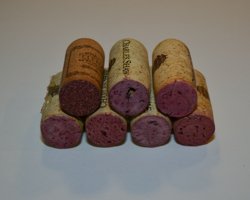
4. Now that you have the middle corks all lined up, add on one cork on each end. You will have to hold the cork in place until the glue hardens (thank goodness for the quick curing time of hot glue...) You will add one extra cork per row, to make the wine cork pumpkin grow larger from the bottom.
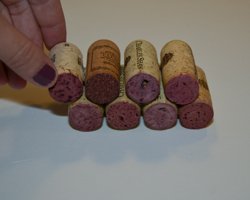
5. Keep going, following the same process. You can make your pumpkin as big or as small as you want.4. Now that you have the middle corks all lined up, add on one cork on each end. You will have to hold the cork in place until the glue hardens (thank goodness for the quick curing time of hot glue!). You will add one extra cork per row, to make the wine cork pumpkin grow larger from the bottom.
For me, my middle layer (longest layer) was at layer number four.
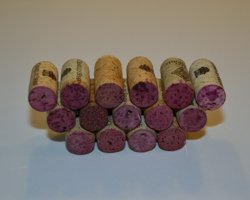
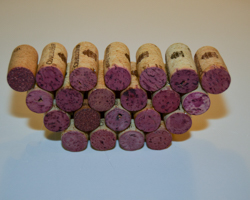
6. At this point, start making layers with one less cork per row, so the pumpkin starts tapering as it gets closer to the top. Finish the pumpkin with the same number of corks on the bottom row (for this pumpkin, four corks).
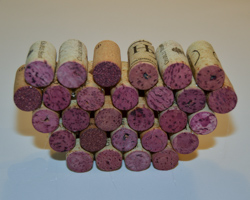
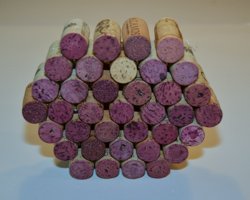
7. Now the really fun part... the painting. I used orange acrylic glue and a paintbrush and quickly painted over all the red ends of the wine corks. Can you tell that Jon and I are partial to red wine?

8. After letting the paint dry, I added on two silk ivy leaves. I used hot glue and wedged the stem of two leaves between the top corks, as shown.
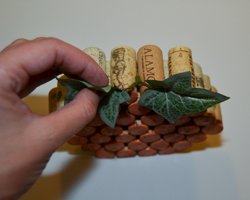
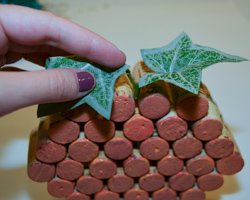
9. To make some curly vines, I used some stiff green wire and grabbed a pencil.
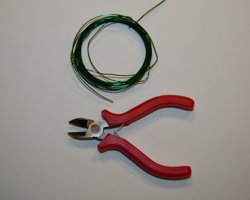
10. Cut off a length of wire using the wire cutters, and wrap the wire around the length of a pencil, as shown. Then, slide off the wire. You will have a curly-q vine. I made three of these for the top of my pumpkin.
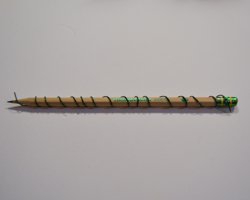
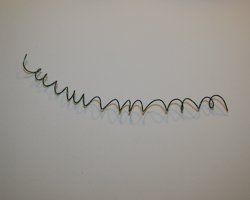
11. Attach the wire to the top of the pumpkin, by wedging the end of the wire in between the top corks, and adhering with hot glue. Keep in mind that another cork will be glued on top for the stem, so leave a little room. Once the wires are on, you can bend them slightly to look like they are falling over the sides and front of the pumpkin.
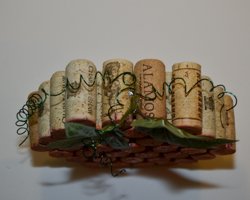
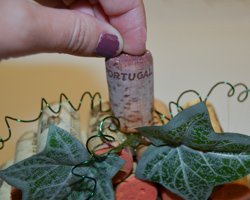
12. Use a shorter, stubby cork for the stem. I thought a champagne cork would have worked well, but I didn't have one (I know, shocking...)
Glue the cork on the top, upright, to serve as the stem and paint it green.
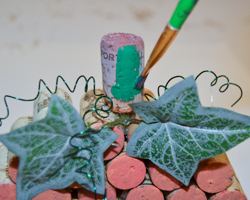
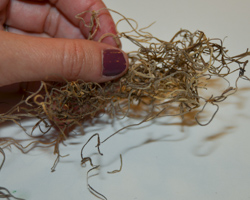
13. After looking at my pumpkin, I felt it needed something a little more, so I got out some artificial Spanish moss, It comes in a bag and is sold in the floral department at my local craft store. I got out just a bit, and hot glued this to the top around the cork stem. I think it added the perfect finishing touch.
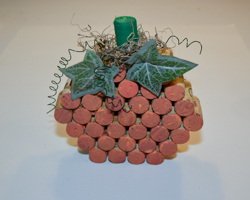
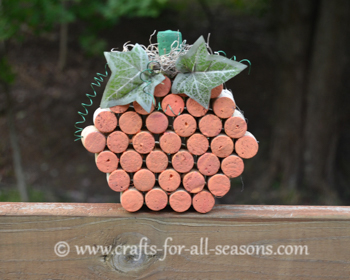
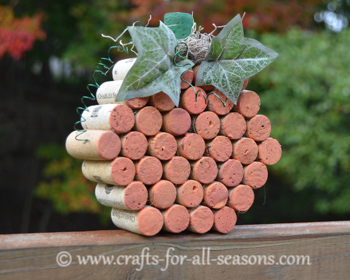
14. All done! Now you have an easy wine cork craft to try, that makes a simple Fall decoration,
Would you consider a small donation?
You will receive my craft ebook as a thank you!
Every little bit helps! If you are enjoying this site, would you consider making a small donation? I use the extra money to help with the cost of craft supplies! With any $5.00 donation or more, you will receive my 650 page ebook full of 178 craft tutorials from this site. Thank you for your consideration!
Click here to learn more about the book, and to make a donation.
